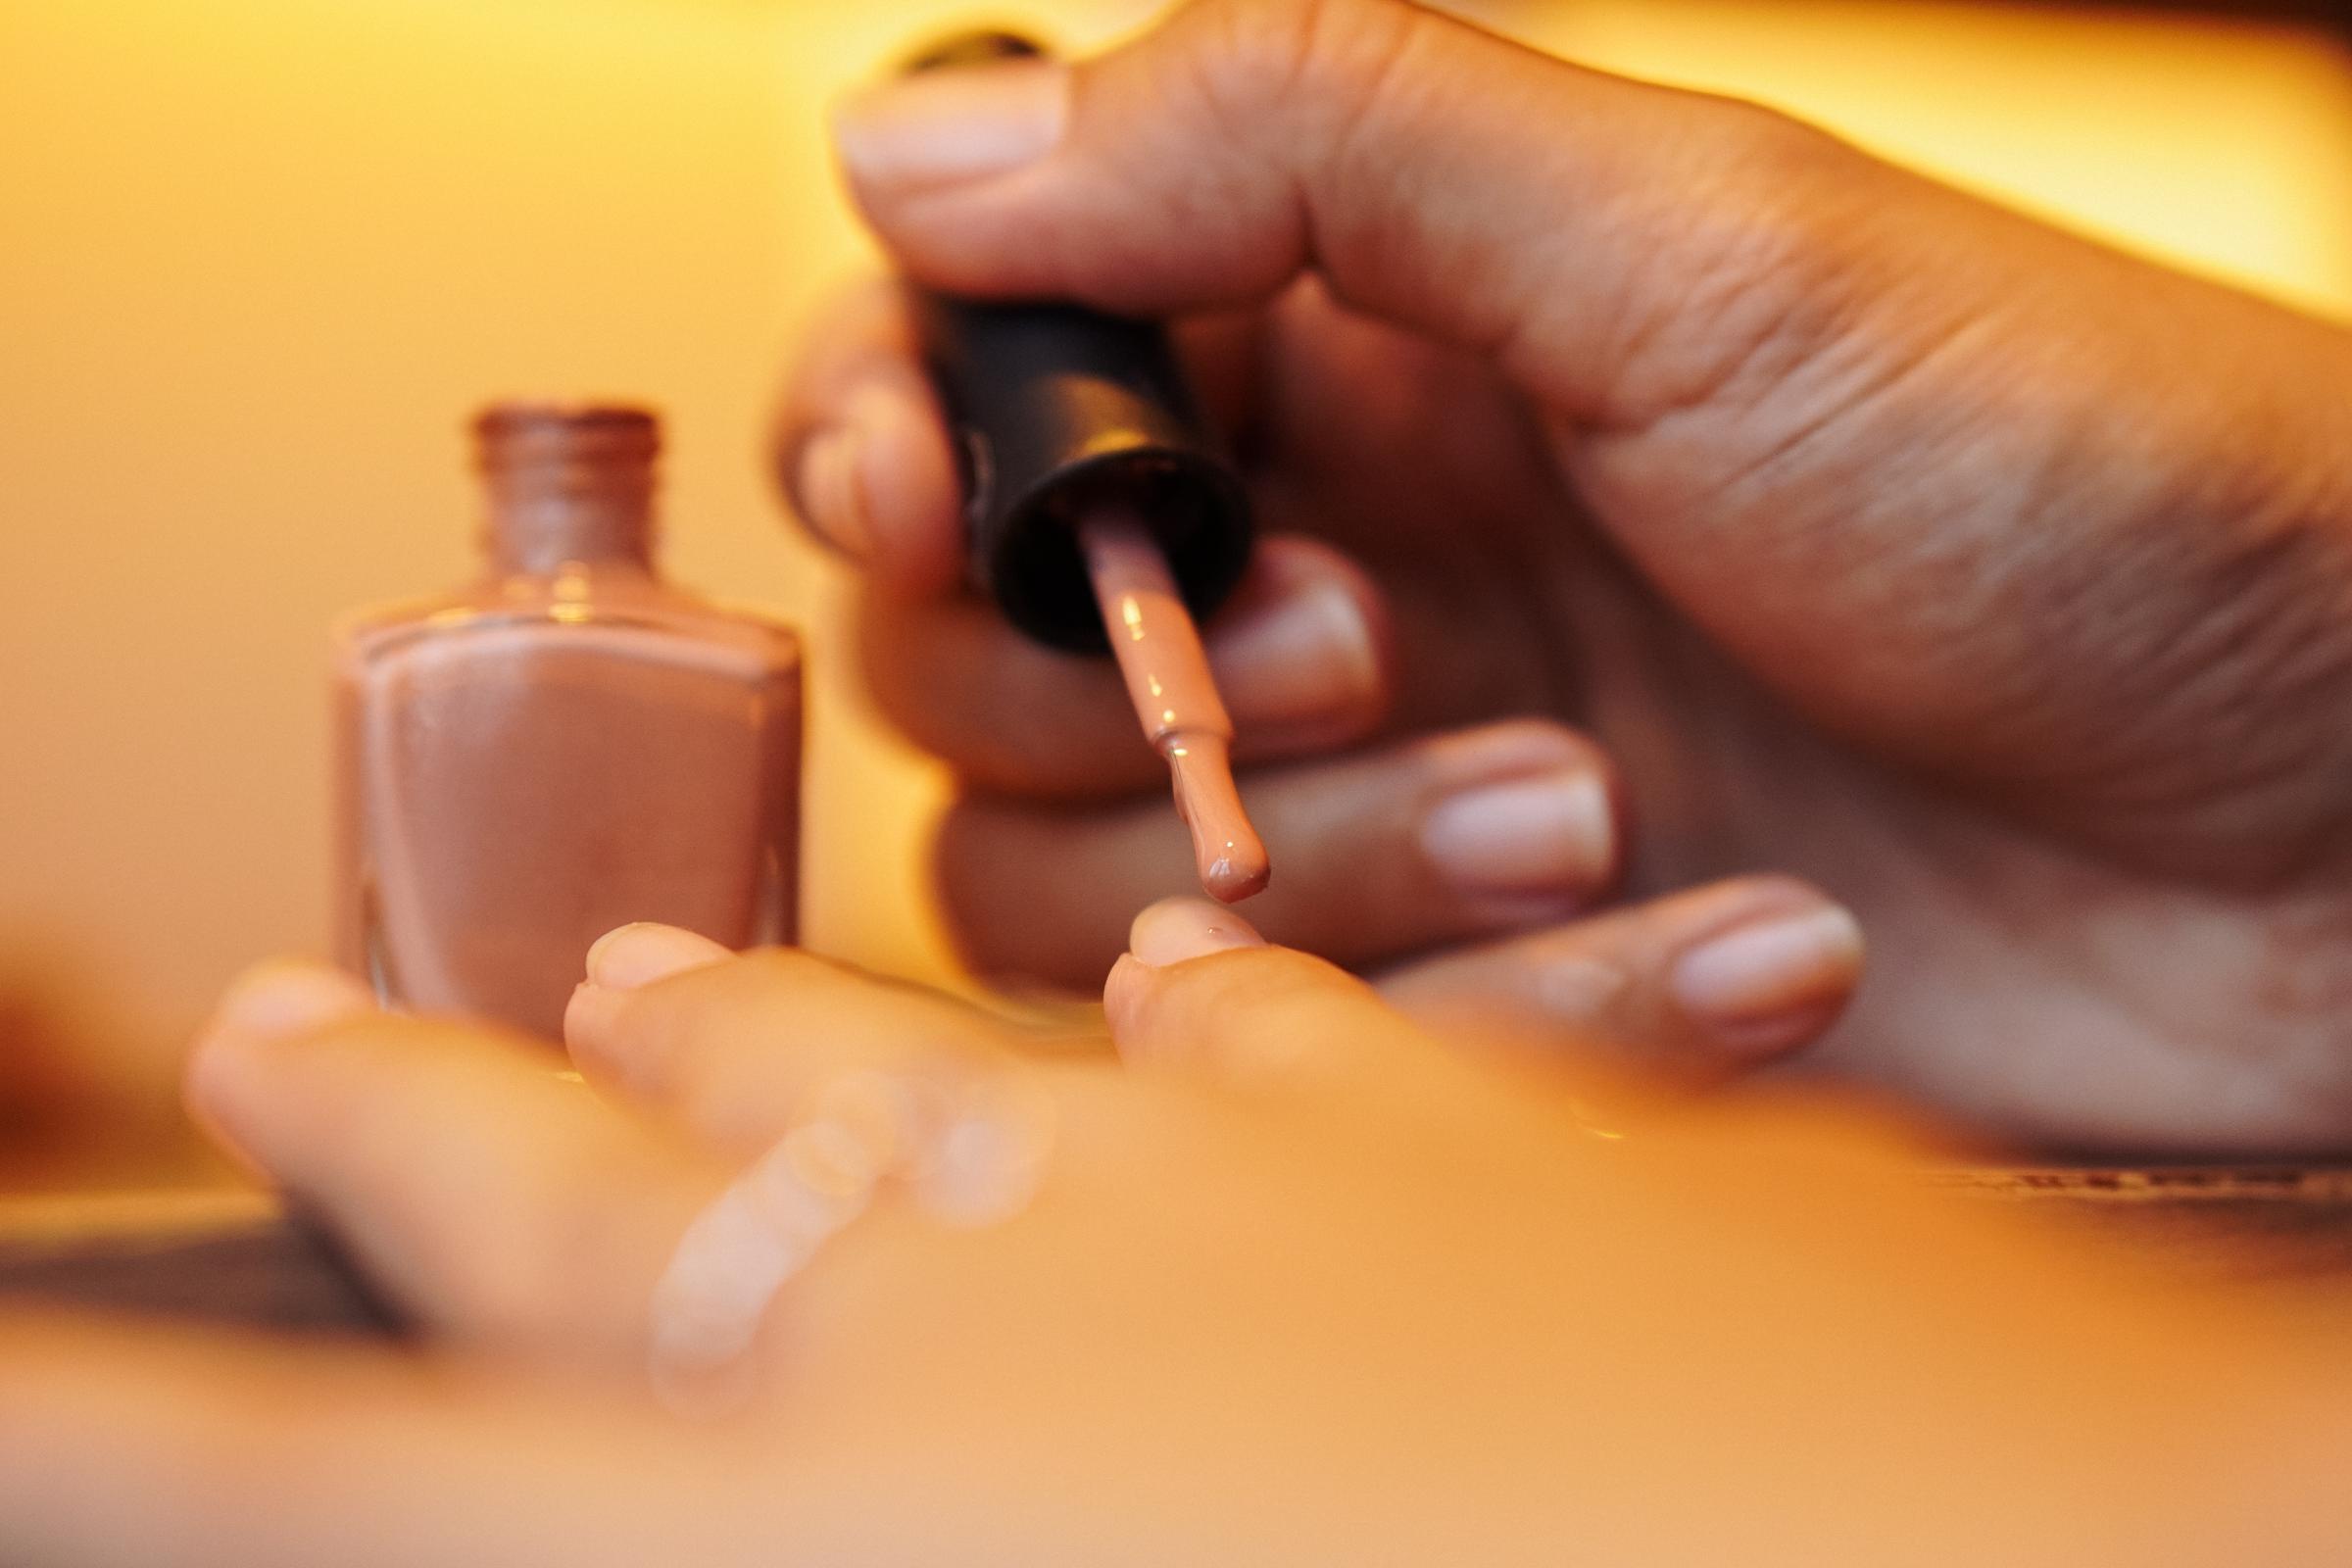
How to DIY Your Own Manicure at Home like a Pro
Who says salon-perfect nails can only happen in a salon? With a few smart tricks, a steady hand, and the right prep, you can create a flawless manicure right at home — no professional required.
Getting salon-quality nails doesn't have to mean booking an appointment. With a little patience and the right technique, you can create a flawless, professional-looking manicure right at home.
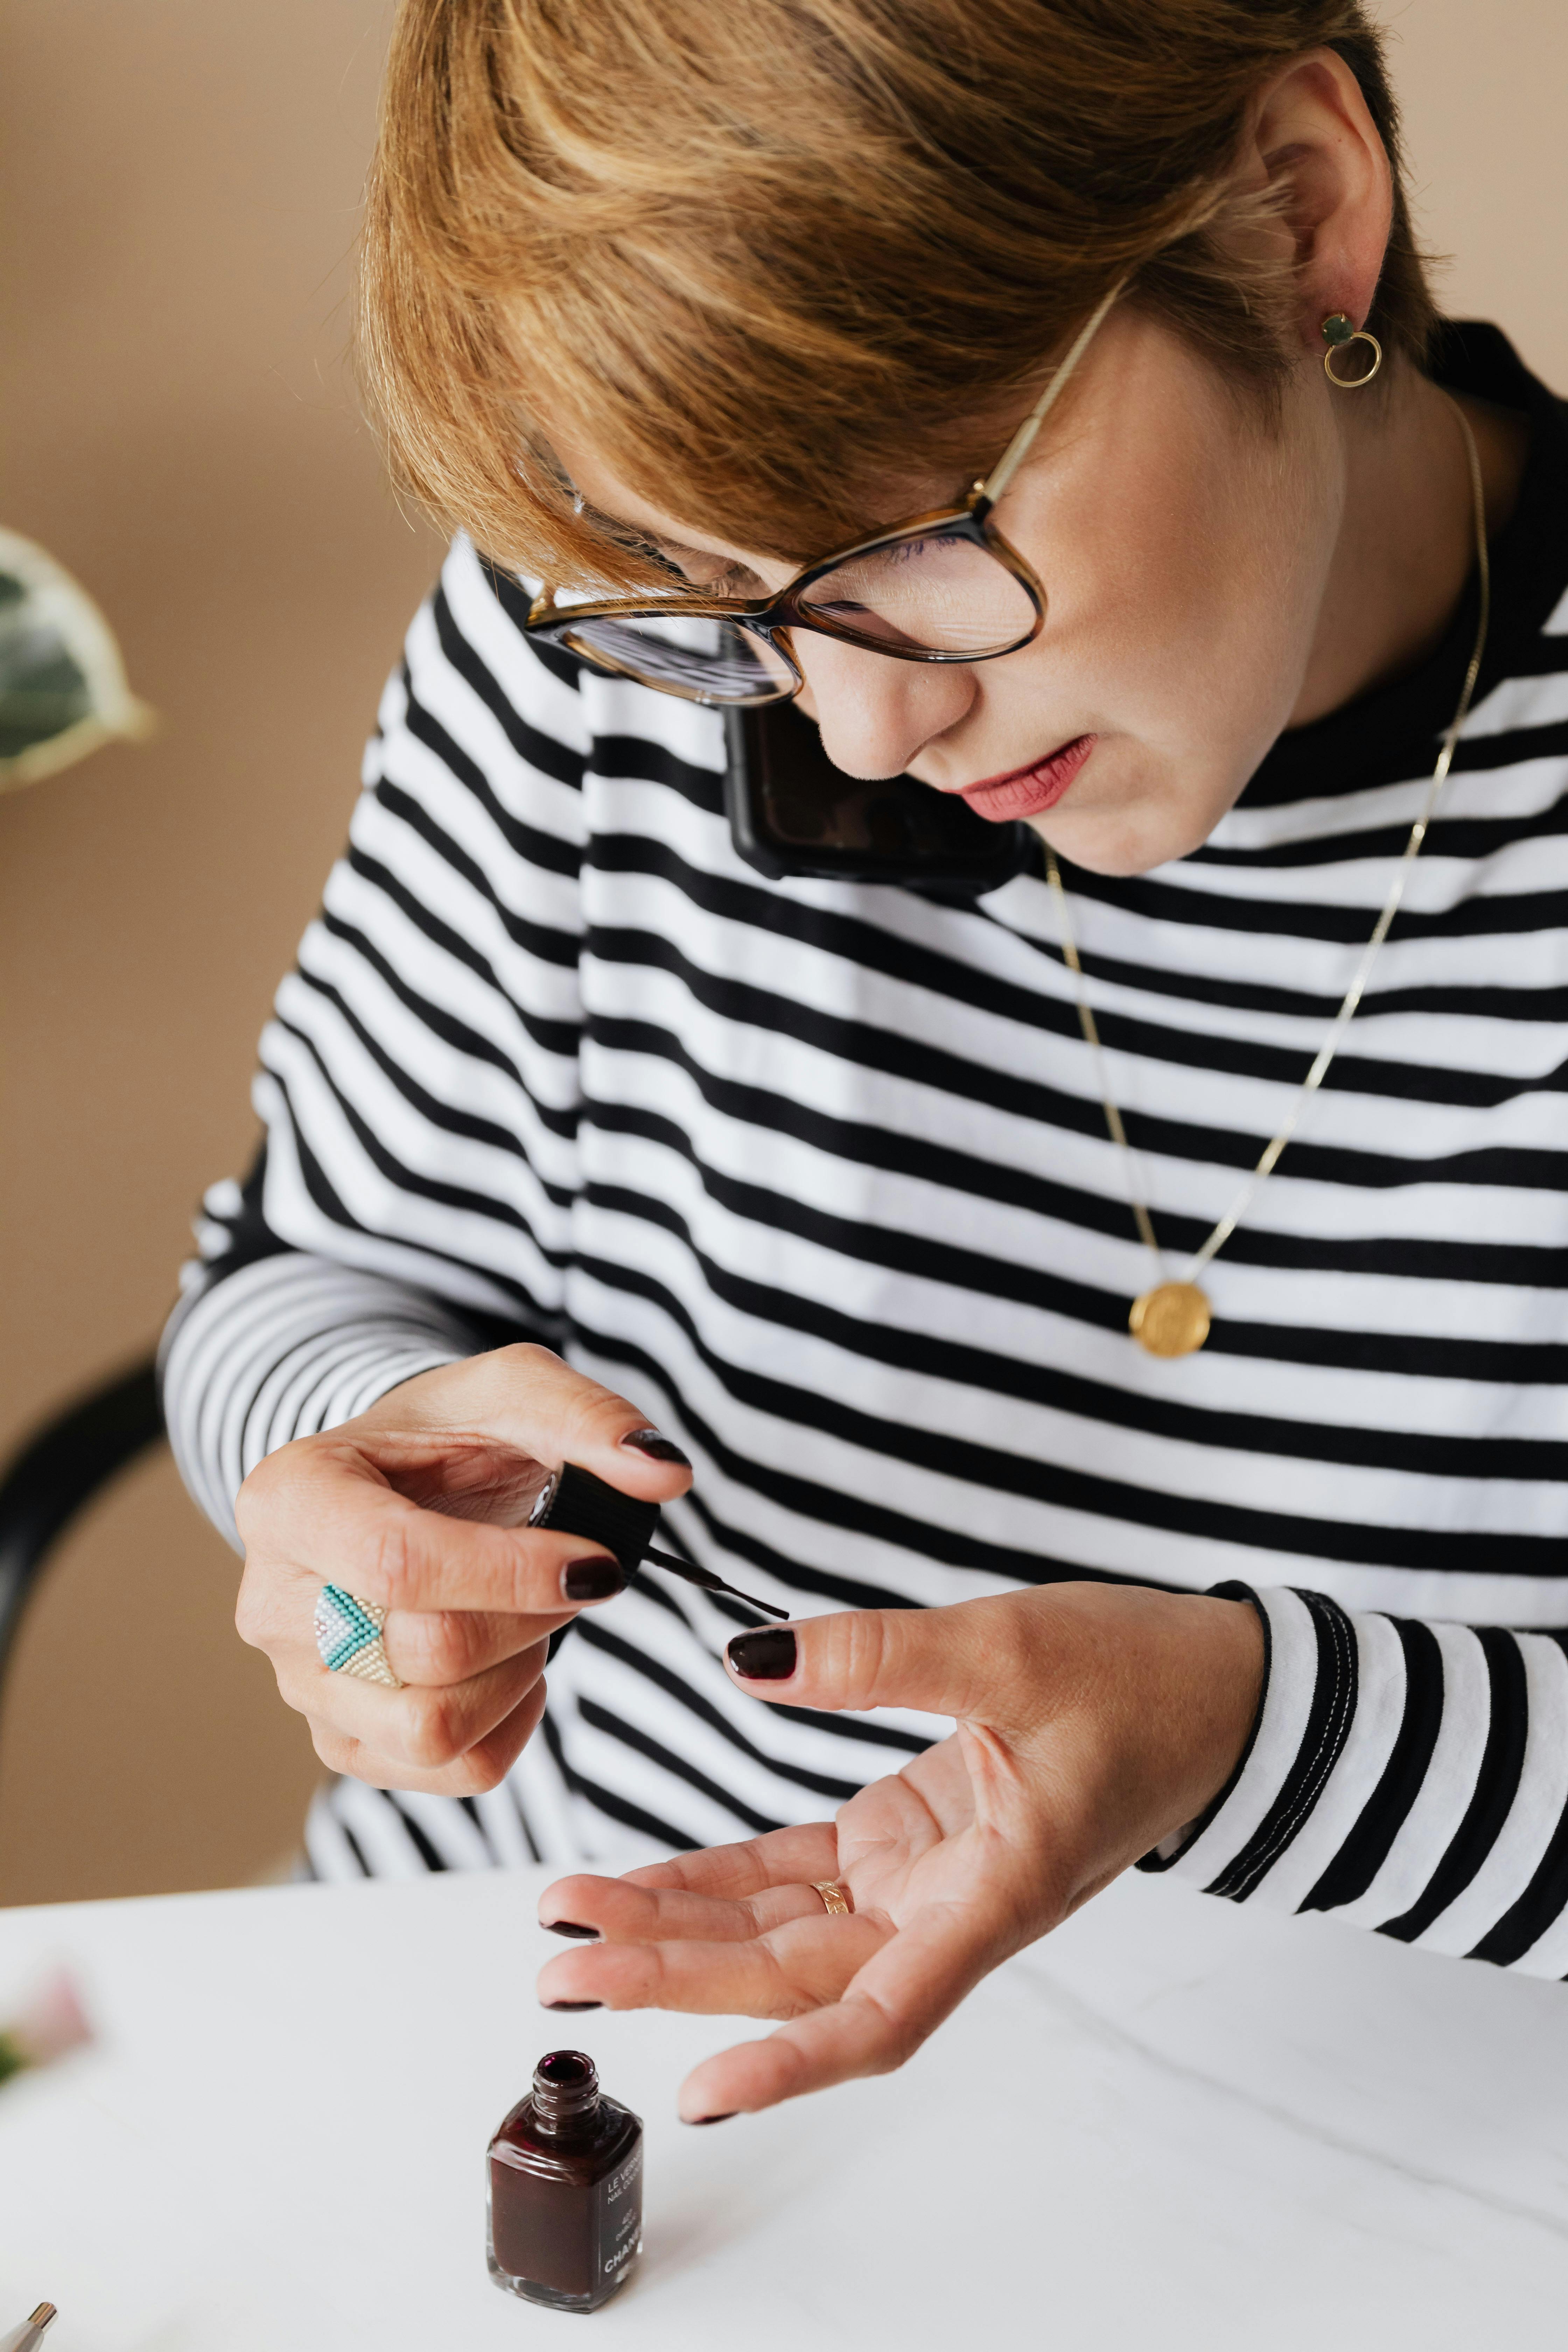
A person applying nail polish | Source: Pexels
The secret? It's all about preparation, precision, and care. By following a few key steps, you'll not only end up with a gorgeous manicure but also keep your nails healthy and strong.
Step 1: Prep Like a Pro
A beautiful manicure starts long before the polish. Nail prep is what separates a good manicure from a great one. Start by making sure your nails are clean and completely dry — any moisture can cause polish to peel or chip.
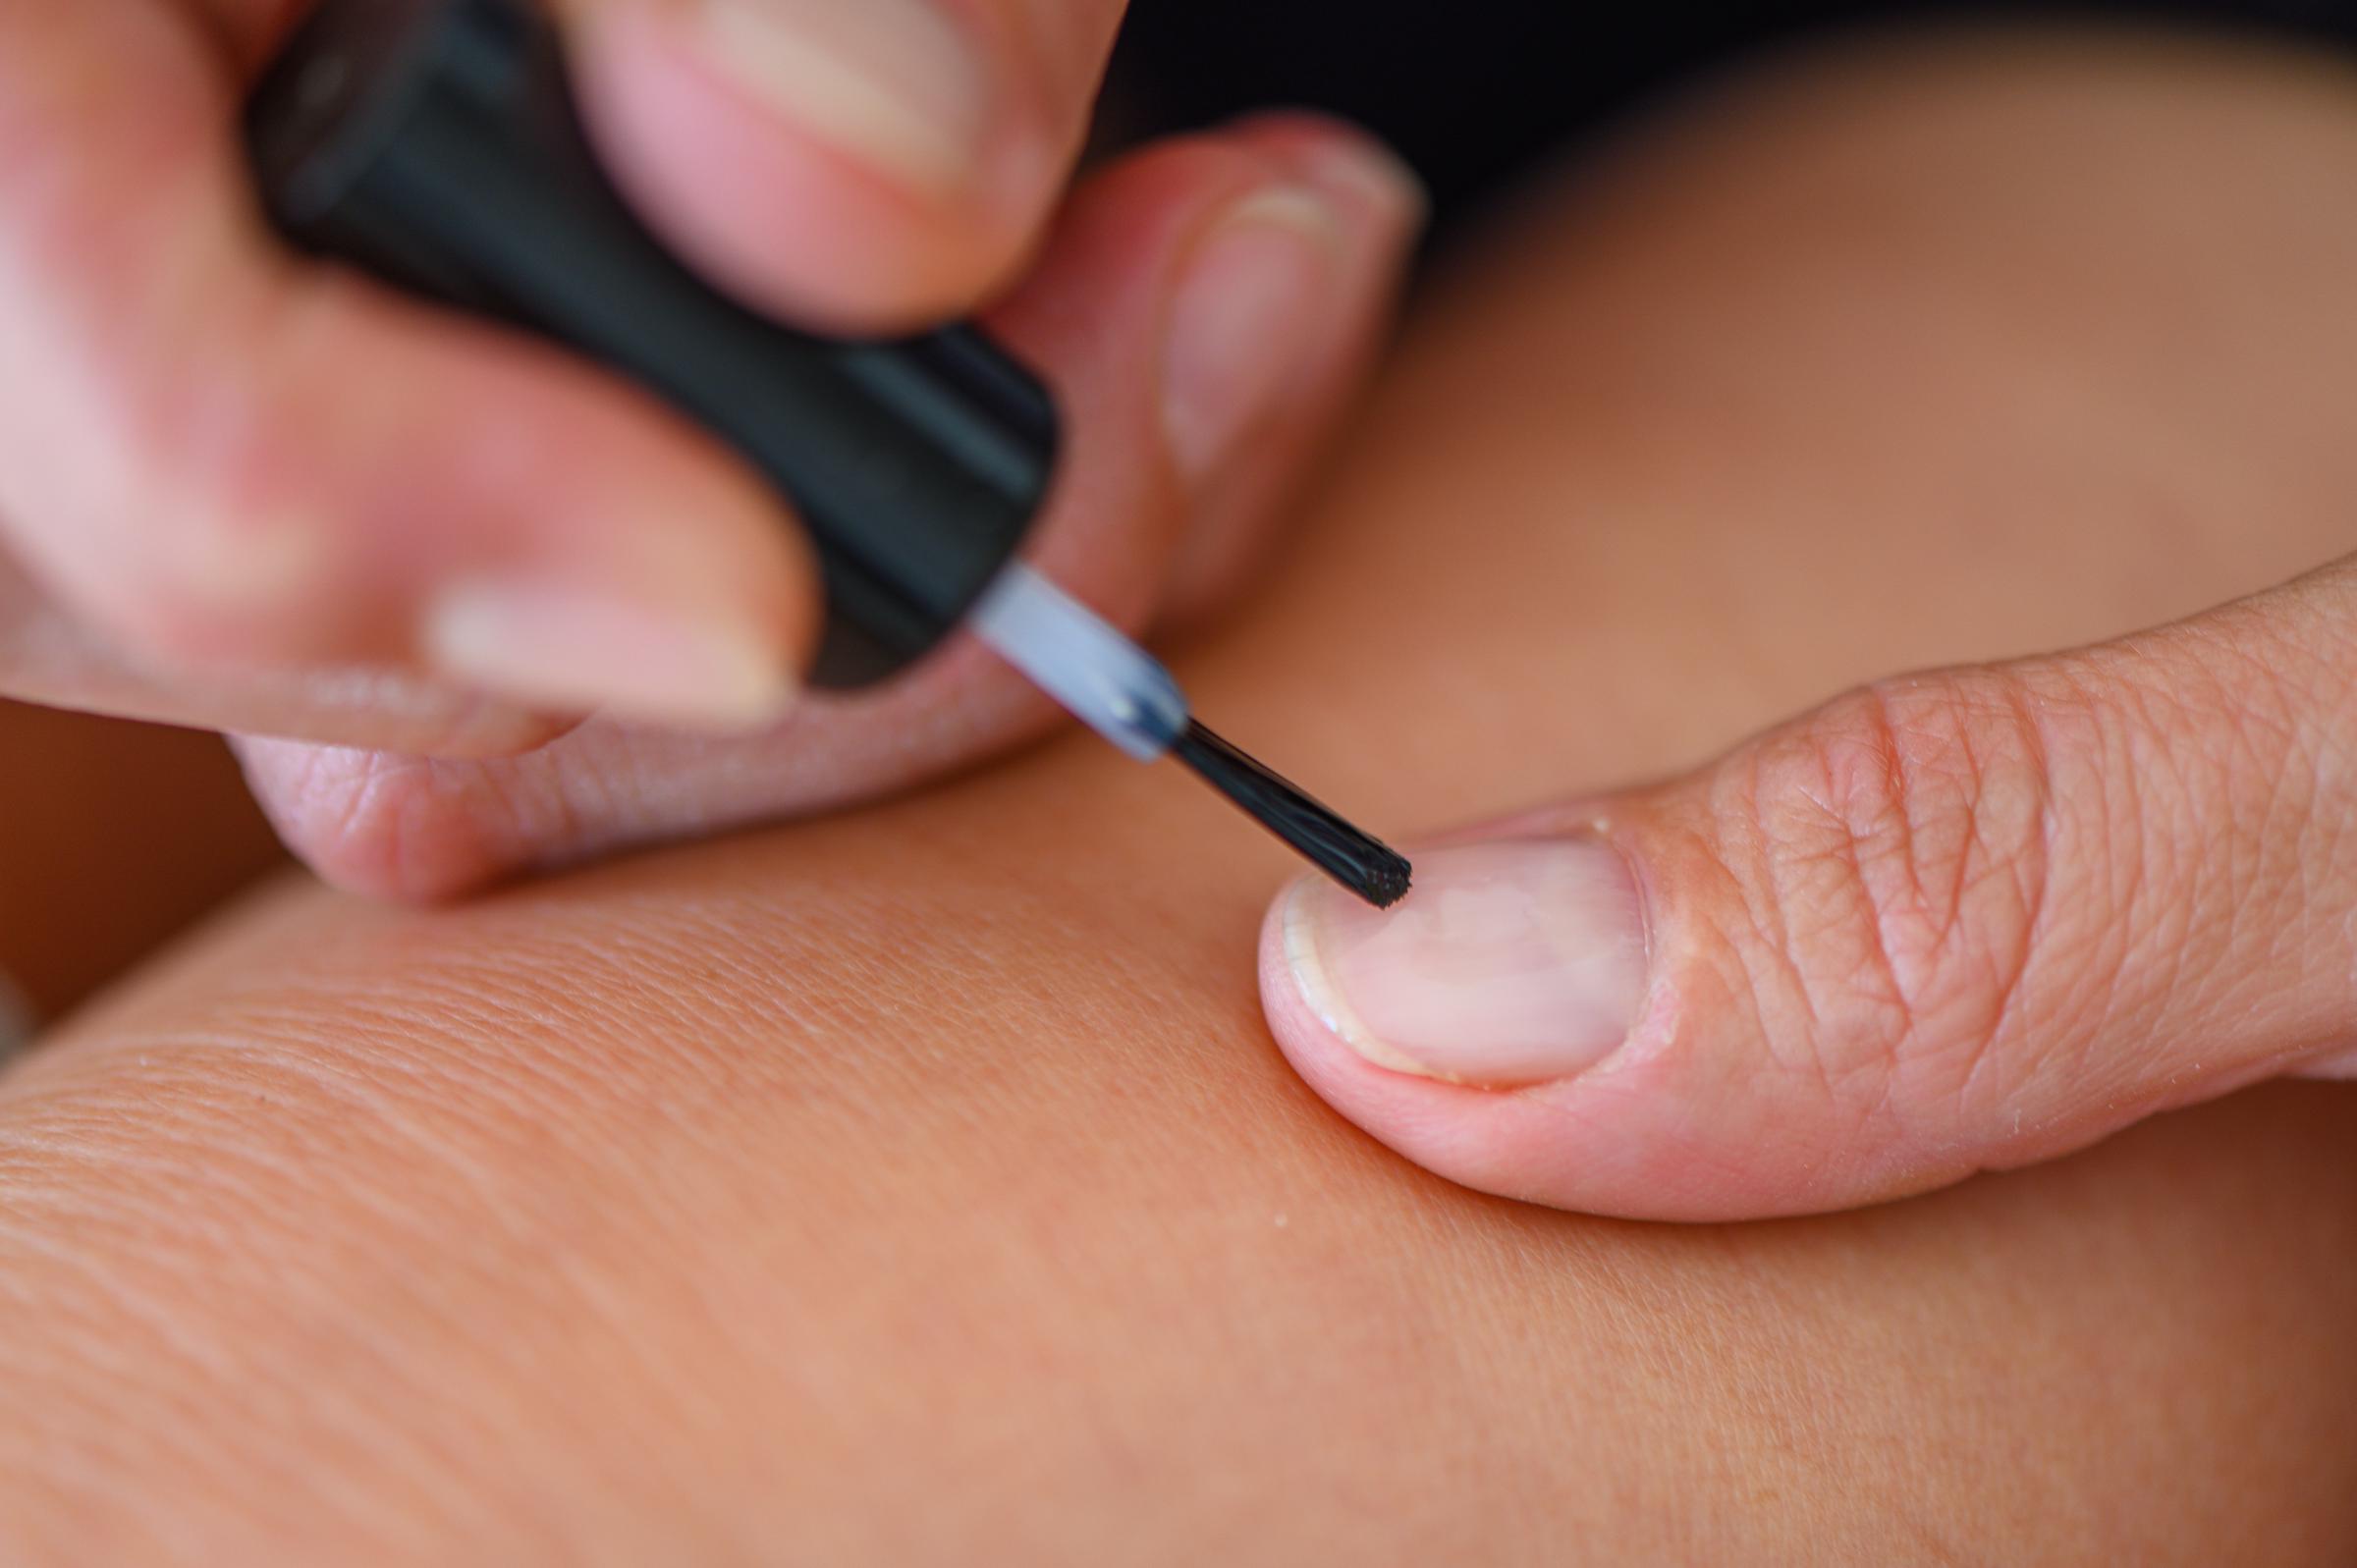
Woman covering her nails with colorless varnish | Source: Shutterstock
Next, trim your nails straight across to prevent ingrown edges, then use a gentle emery board to shape them. Always file in one direction instead of sawing back and forth, which can weaken the nail and cause it to peel.
Cuticle care is equally important. Instead of cutting your cuticles (which can lead to infection), gently push them back after softening them in warm water or with a cuticle oil. This gives your nails a clean, smooth base for polish to grip onto.
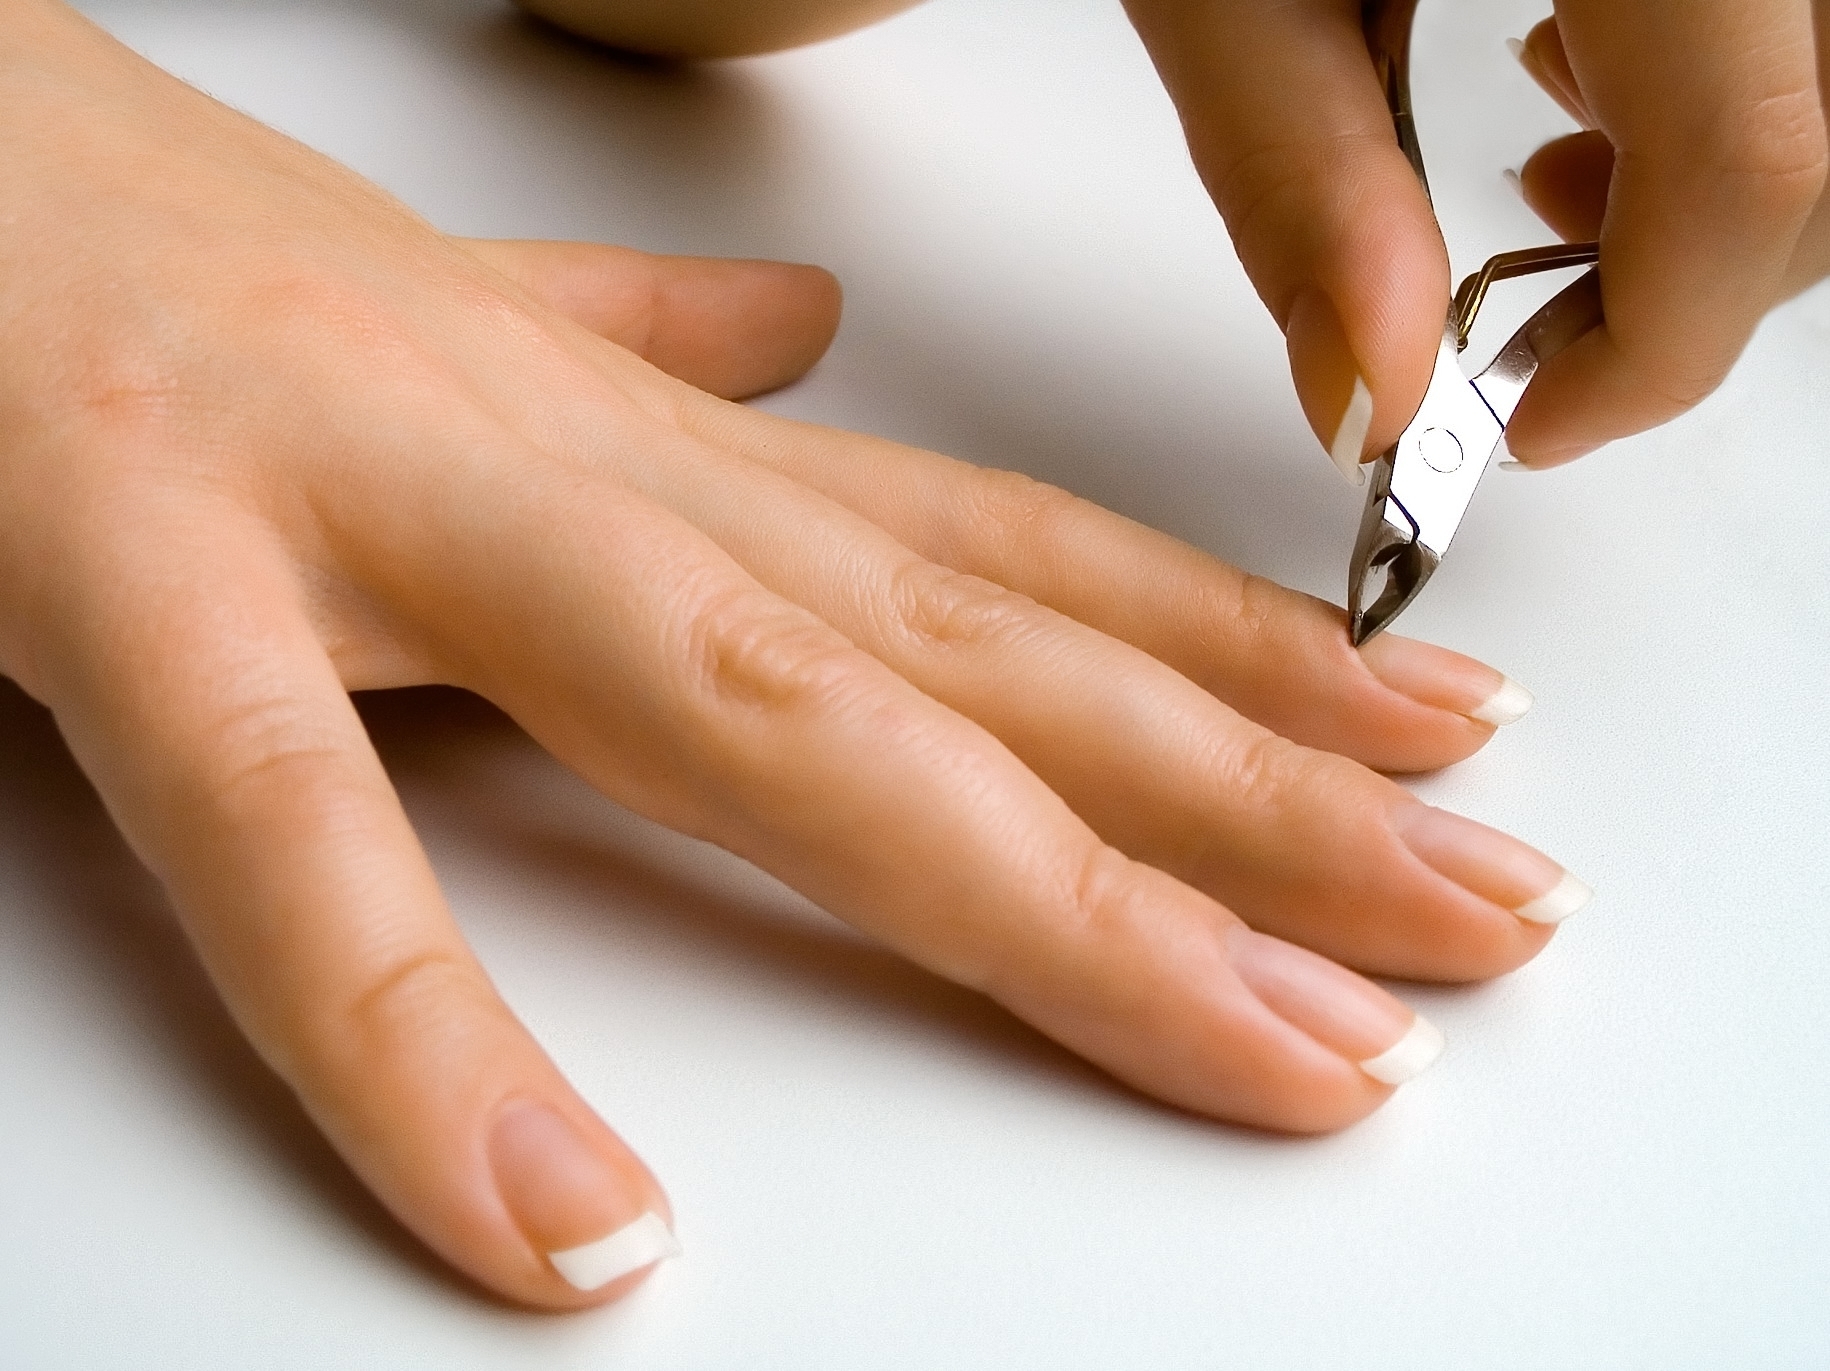
A person removing cuticles from fingernails | Source: Shutterstock
Step 2: Master the Polish Technique
Now for the fun part — color! The key to a pro-level manicure is applying your polish in thin, even layers. Start with a base coat to protect your nails and help your polish stick better.
Then, apply two thin coats of color, letting each layer dry for a couple of minutes before the next. Thick layers might seem quicker, but they're more likely to smudge or bubble.
For smooth, even coverage, use the three-stroke method:
- One stroke down the center.
- One stroke along the left side.
- One stroke along the right side.
- Finish with a top coat to seal in the color, add shine, and prevent chips.
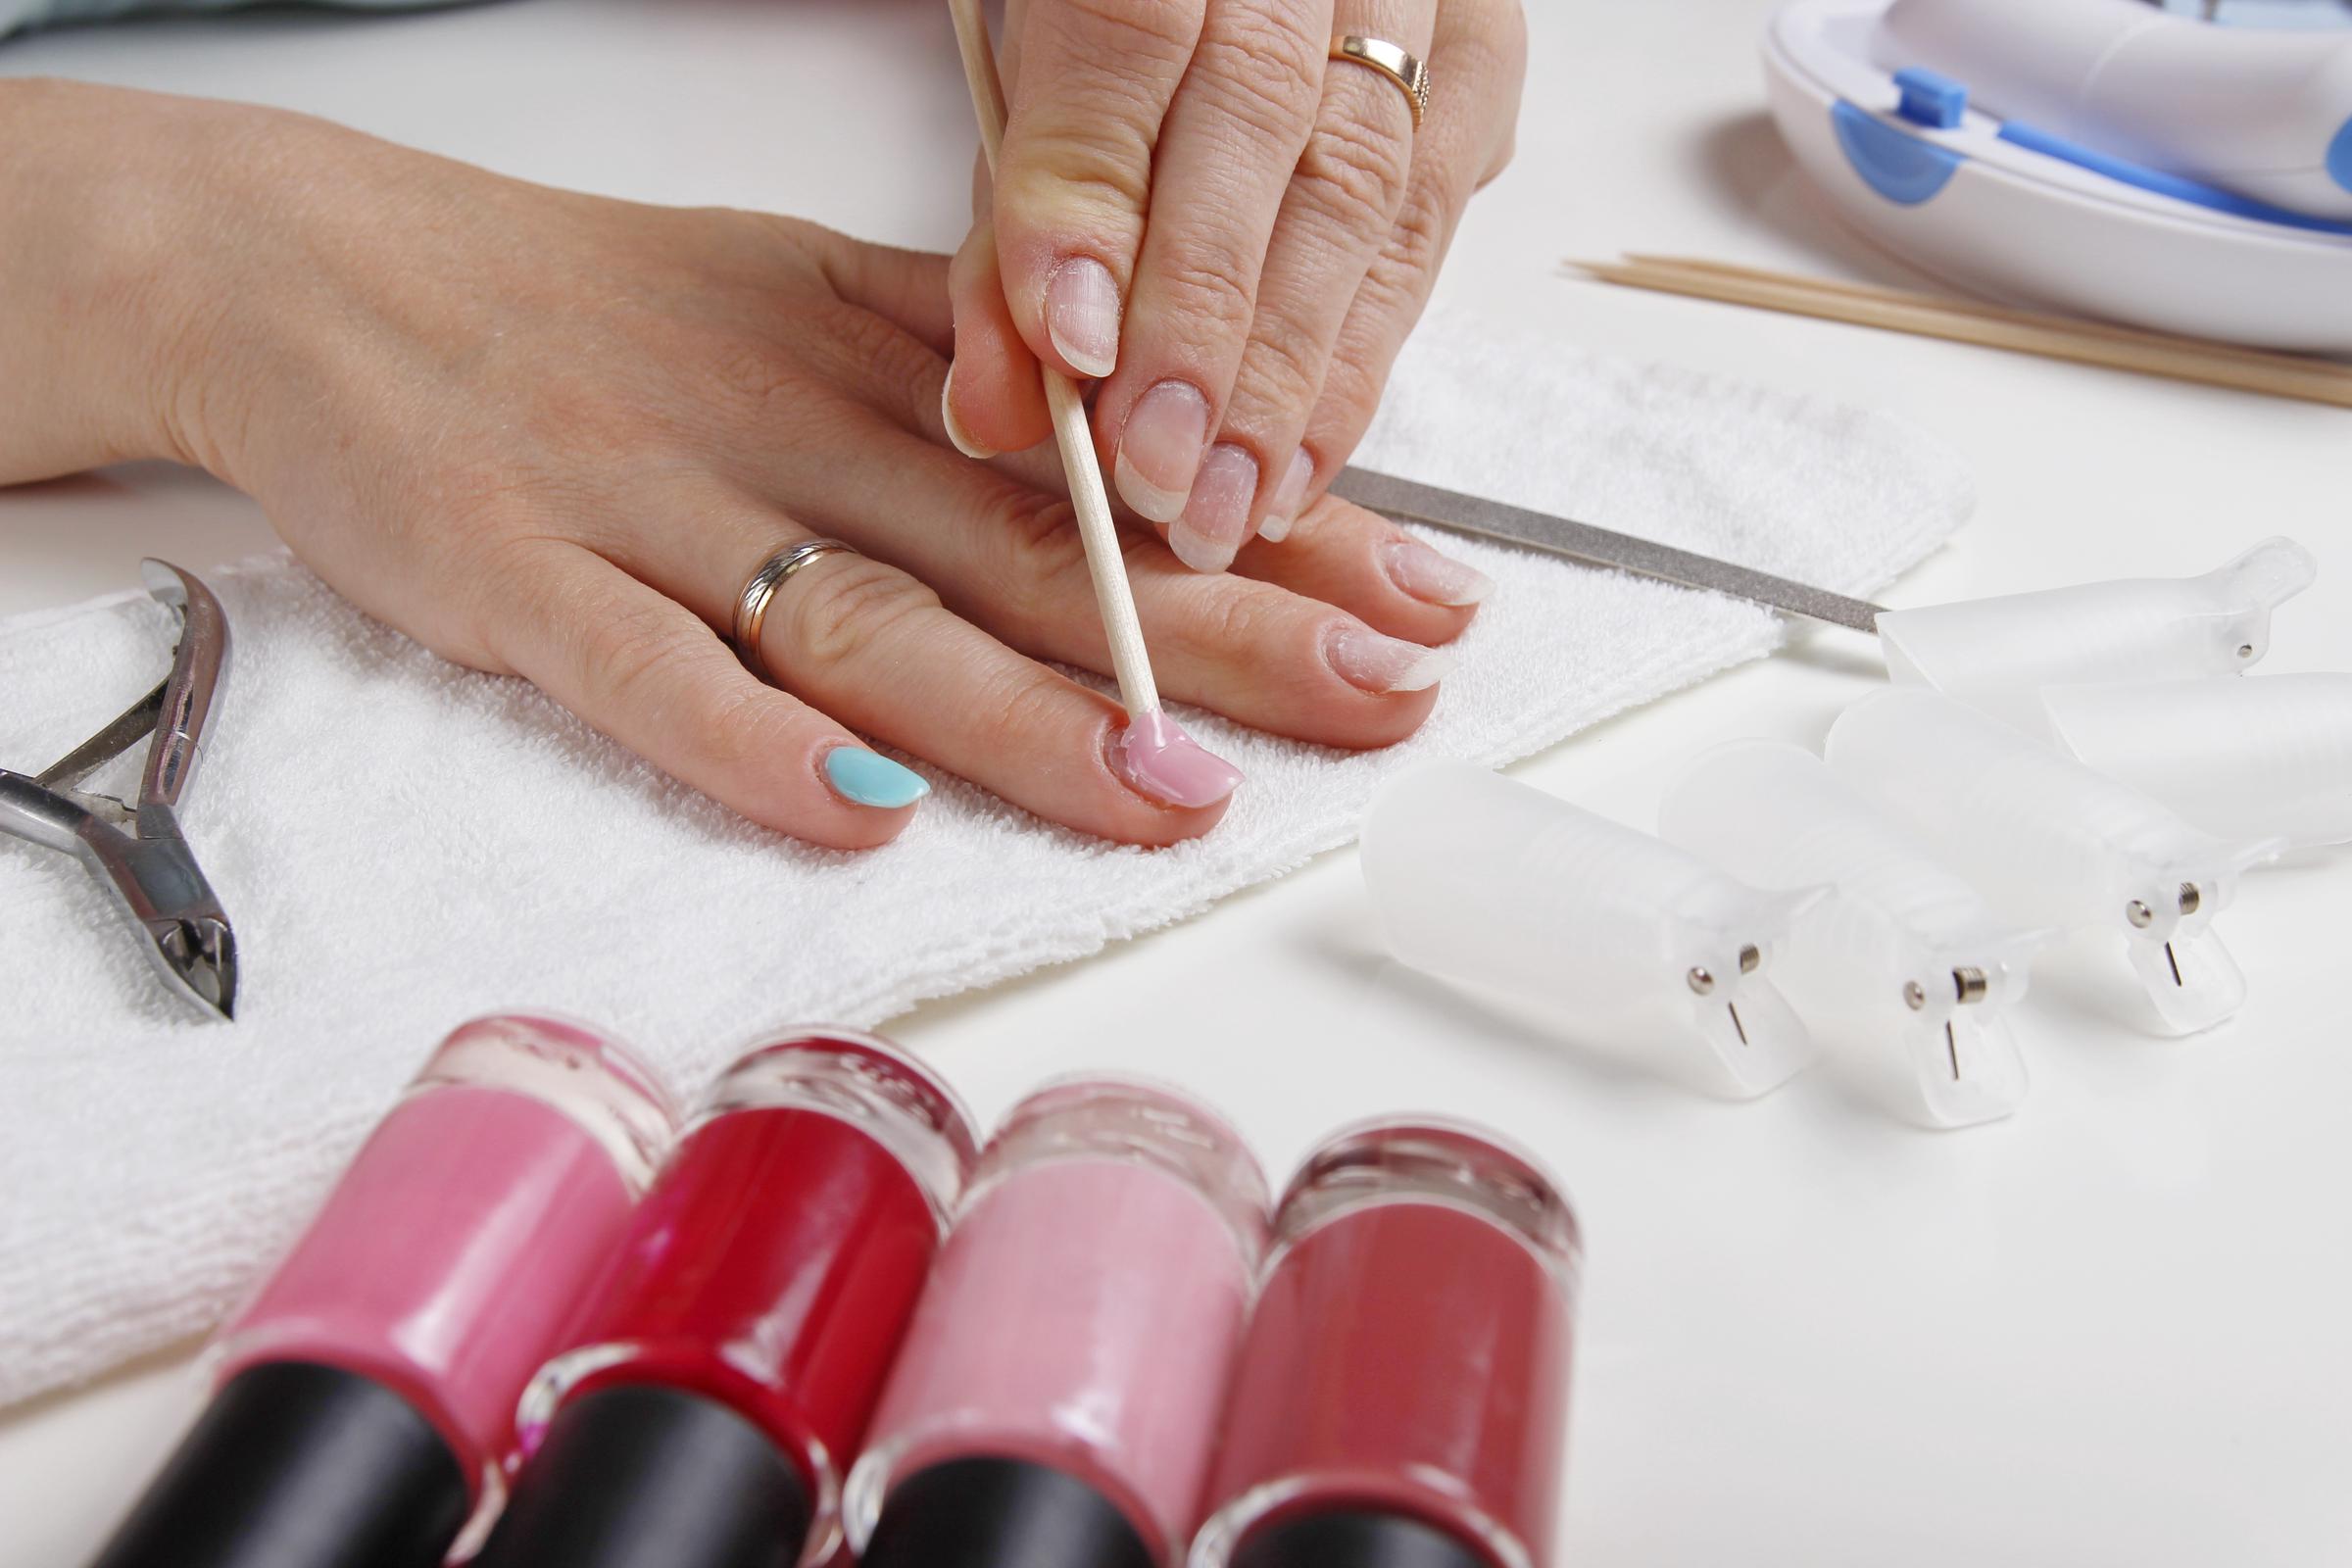
A person doing their own manicure | Source: Shutterstock
Step 3: Make It Last
Even the best manicure needs a little TLC to stay perfect. The number-one rule? Be patient. Let each coat dry completely before adding the next — even "quick-dry" polish needs a few minutes to set properly.
After your manicure, keep your nails hydrated by moisturizing your hands and cuticles regularly. A drop of cuticle oil or hand cream each day keeps nails flexible and prevents hangnails.
If you're tackling household chores, wear gloves to protect your polish from harsh cleaners and water. These small habits help your manicure last longer and keep your nails looking fresh.
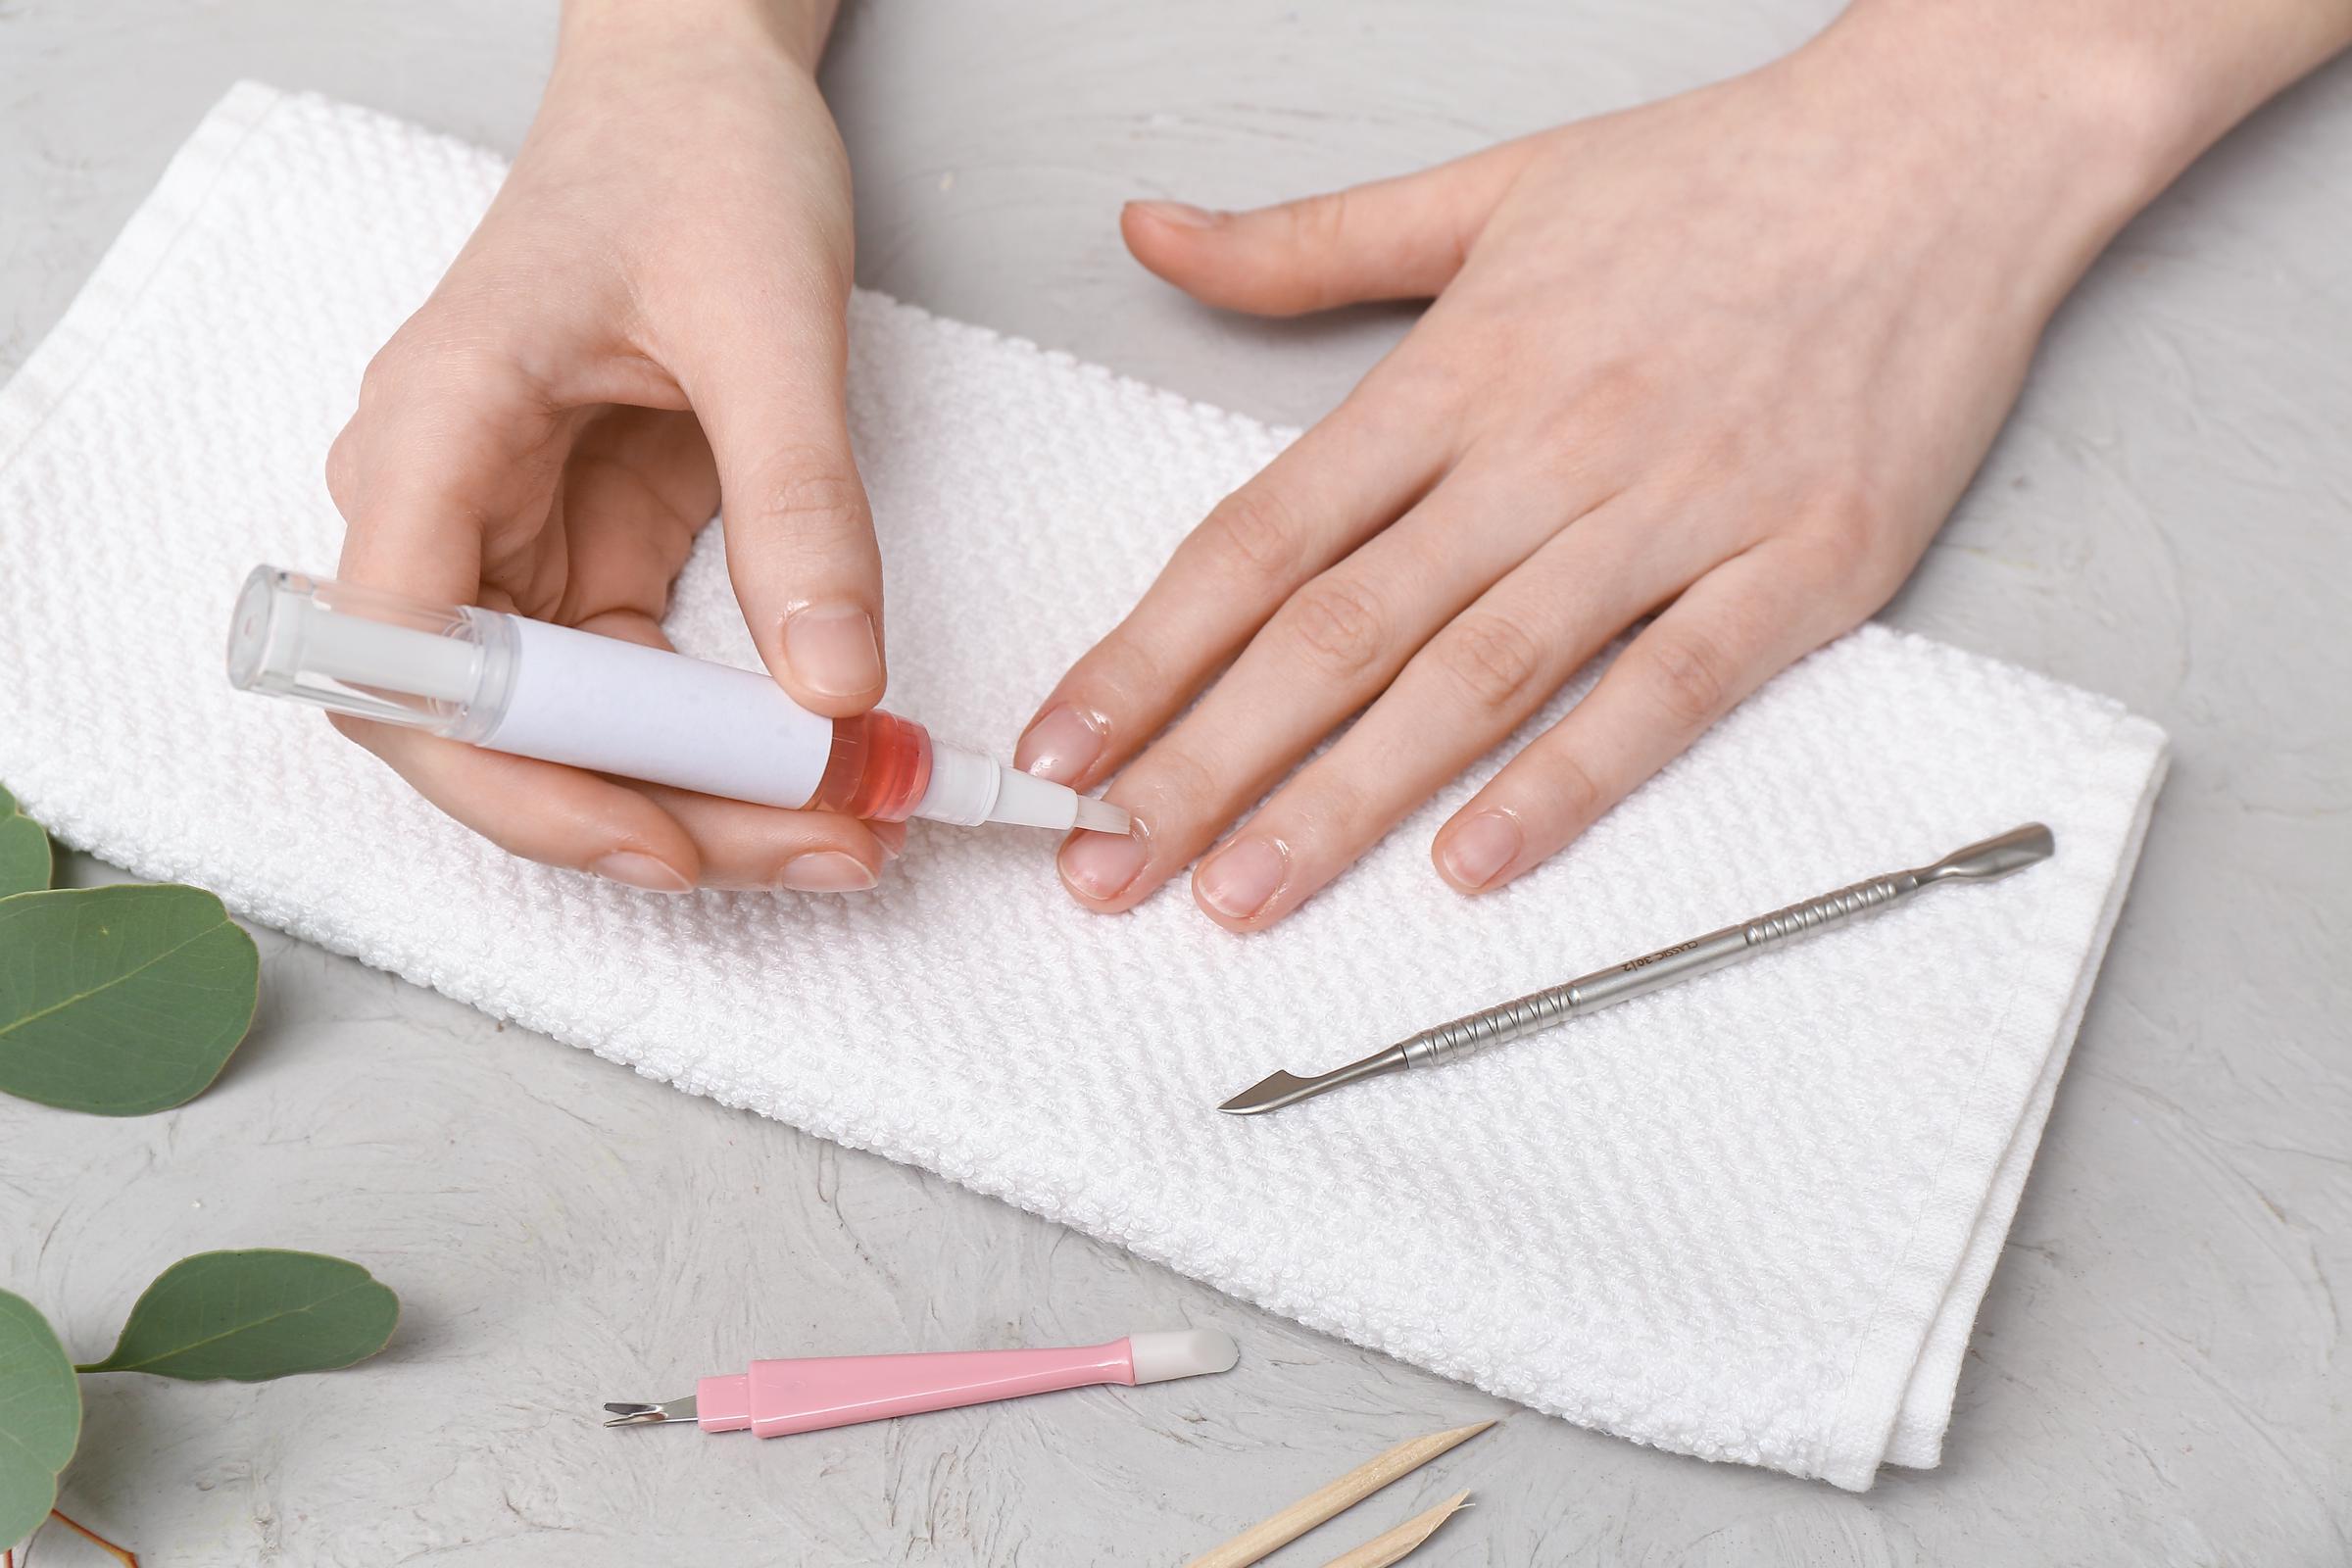
Female hands applying cuticle oil onto fingernails | Source: Shutterstock
Final Thoughts
Doing your own manicure at home is more than just a beauty hack — it's a moment of self-care. With a little practice and attention to detail, you can achieve a salon-quality finish that's uniquely yours.
So grab your favorite polish, take a deep breath, and enjoy the process. Because when you DIY your manicure with care, the results are always worth showing off.
