A Complete Step-By-Step Guide To At-Home Pedicures
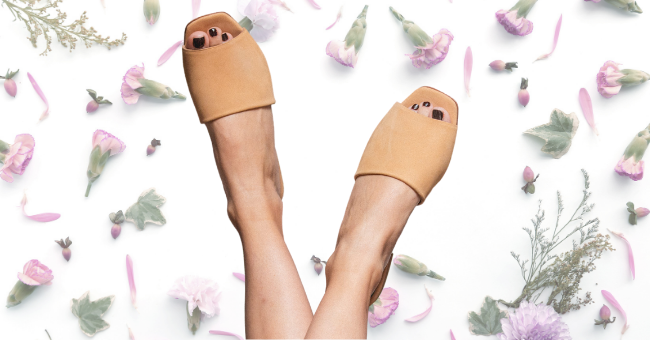
Before spring arrives, take your feet into your own hands. Your toes in your open-toe sandals are going to love you for it.
As an optional step, after removing your polish, you can soak your feet and give yourself a well-deserved foot massage. It will feel very soothing to give yourself the full at-home salon treatment.
Not only that, but it will make pushing back your cuticles easier before you get into trimming your nails. Here’s a guide to your perfect at-home pedi.
Remove Old Polish

Photo by Frank Vessia on Unsplash
You want to always make sure you start off with a clean nail bed, which means no remnants of old polish. Using a nail polish remover and a cotton pad, rub off all the existing nail polish traces.
Trim And File

Photo by Brett Jordan on Unsplash
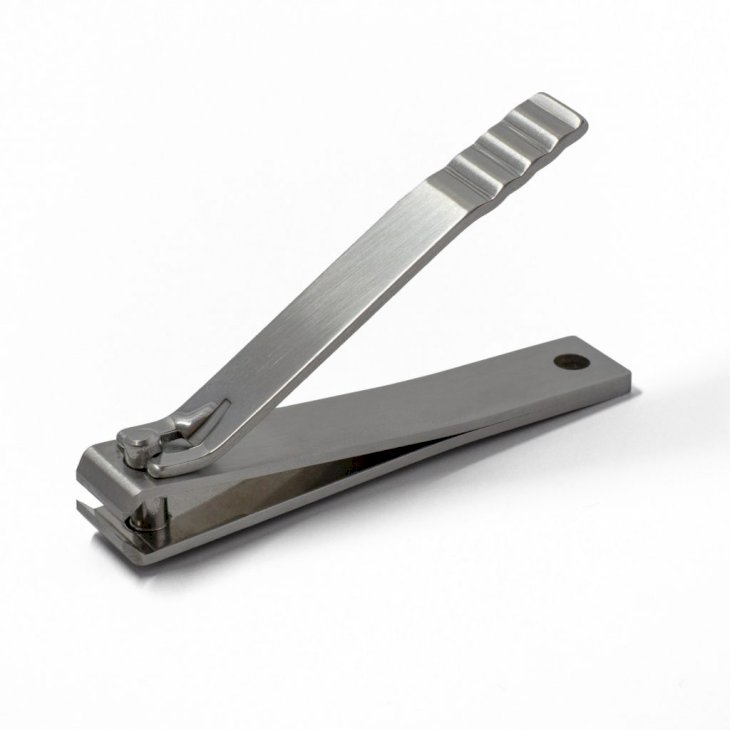
Grab a pair of nail clippers and cut your nails and proceed to tidy up the edges and give your nails a neat shape with your nail file. For hardened skin on the heels or toes, use a pumice stone or foot file to remove some of the dead skin.
Apply Your Base Coat
This will help your pedicure last, so don’t skip this step. You want to sure the coat is thin, though, so that it doesn’t take eons to dry or cause any other challenges with other coats. OPI’s natural nail base coat is excellent for preventing yellowing.
Apply Polish
Once your base coat has dried, go for your desired shade and go to town! Remember to always keep your coats thin and even so that they can dry well. Additionally, if you apply thick coats, by the time you get to your topcoat, your pedicure will require five business days to dry, and in that time, you may ruin your work. Apply two coats of polish.
Apply Topcoat

Photo by Oz Seyrek on Unsplash
Prevent premature chipping and help your pedicure maintain its pretty perfection. OPI’s Infinite Shine 3 is perfect for also adding extra gloss to your nails. Wait for that to dry, and, voila, you’ve got the perfect at-home pedi.