A Comprehensive Guide To Color Correcting
Color correcting is the open secret makeup artists use to achieve a flawless finish. Quite literally, it is their method to the madness. If you have ever wondered how celebs and models appear permanently blemish-free - it’s color correcting.
While applying pastels to your face could bring back memories of the terrible time you tried contouring, color correcting is quite simple. Trust, you are not playing with fire here as the method is down to color science.
Color correcting is more efficient than straight-up concealer. Its magic lies in the ability to be long-lasting. No more dark circles peeking through after an hour, mainly if you had just applied concealer before. Curious? Below is a comprehensive guide to color correcting.
Know Your Color Wheel
In contrast to using an ordinary concealer, a color-correcting shade neutralizes blemishes by working against them. How? Color correctors are the opposites of complementary shades. Therefore, when applied to the targeted area, the correcter cancels out the blemish.
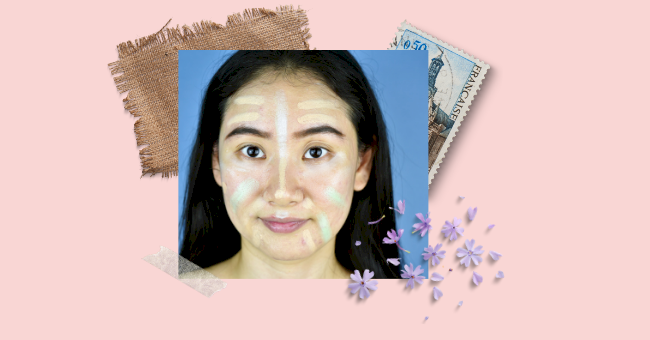
Green neutralizes redness. Peach disguises dark circles—moreover, yellow combats discolorations like age spots and broken capillaries. Violet improves dullness, and peach hides blemishes on dark skin tones, while bisque does the same for medium tones.
Decide Where to Place Your Color Correctors

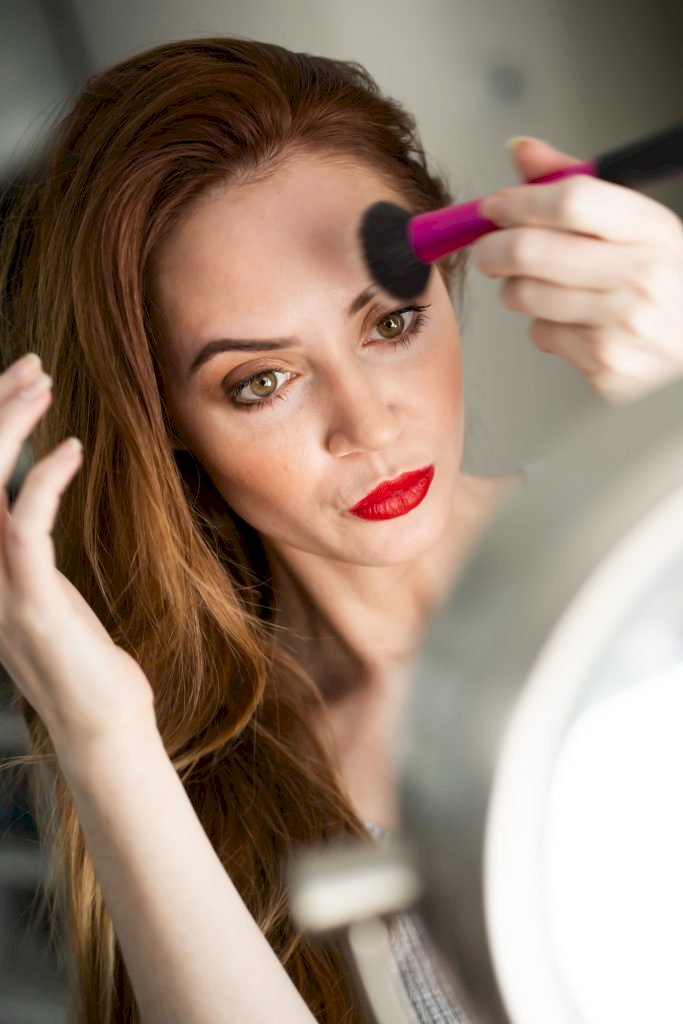
Photo by Jose Martinez on Unsplash
Cool, you have all these clown-like colors; now what? First, identify your skin tone. It will guide you on how to choose your color correcting shade. Color correctors are skin tone specific; therefore, there is something for everyone.
Next, decide your placement. The sunnier colors go on dark spots. A dull appearance will do well with a purple or lilac corrector. Also, green will cancel out any redness. Furthermore, hyperpigmented areas are best suited for yellow to handle.
How To Apply Your Color Corrector
Color correcting comes before your foundation. This enables you to work with a perfect canvas. Grab a concealer brush and begin to blend. For dark circles, use the peach in a V formation. The tops of the v shape should lie by the inner and outer corners of the eye.
Next, for any dark spots, apply dots or swipes of yellow directly on the blemish. For redness, apply in swipes where the redness lies. This would be around the nose or apples of cheeks. Finally, use the purple tones in large swipes where your face needs brightness.
Apply Concealer and Foundation
After following steps, one to three above your face is ready for foundation. However, before you begin correcting, start with a primer to create a photo finish effect. Go in with your correctors next. After letting them sit and dry, apply your foundation on top.
Following this, you can add on some concealer ontop for long-lasting coverage. Also, you may use your concealer to brighten up the area. Draw some small upside-down triangles with your concealer and blend. Voila, brightness.
Set Your Makeup
Now that you’re is makeup is done, consider setting your entire base with a setting spray. A setting spray will allow your makeup base to stay put and not melt your hard work all the way through.
Try a light spritz like TARTE Double duty beauty™ Shape Tape™ Stay Spray Setting Spray, or a powder like the L’Oréal Paris Infallible Pro-Sweep & Lock Loose Setting Face Powder for a seamless finish.