A Guide To Creating A Successful Gel Manicure At Home
In these times, we can't all go to the salon for a manicure. However, with the application of semi-permanent nail polish, we can have our fingers looking groomed at all times.
This doesn't mean that you cannot have perfect nails with a DIY manicure, using classic nail polish and a few accessible accessories that we all already have at home.
The advantage of gel nails is that, unlike regular nail polish, they don't chip after a day or two. Their composition allows the nails to remain shiny for two weeks.
Start By Removing The Old Polish
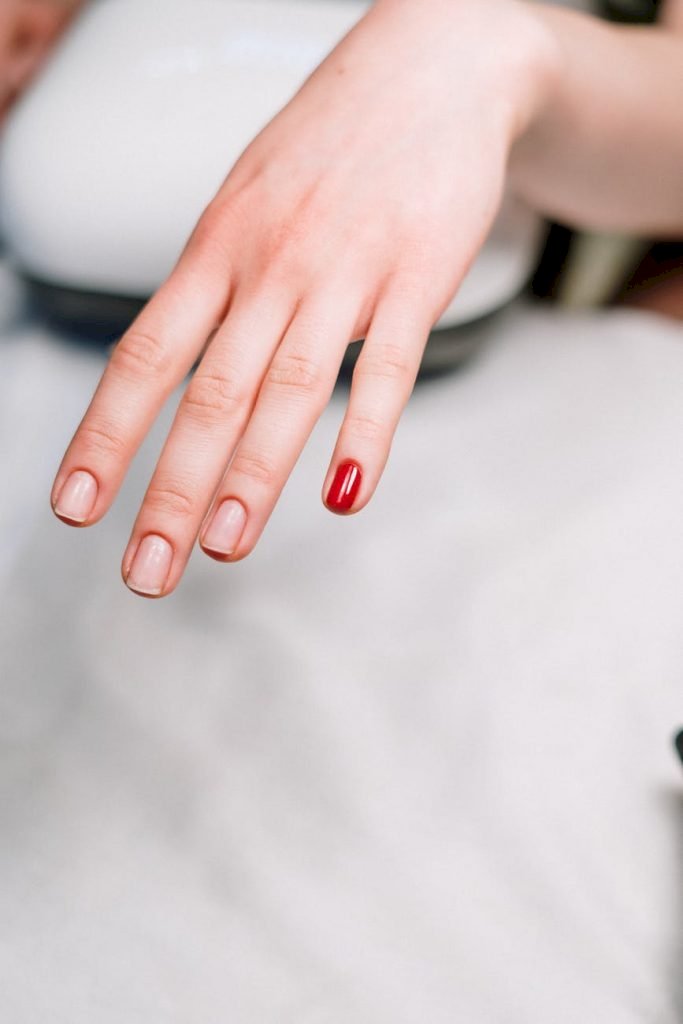
Photo by Cottonbro on Pexels
First, you need to remove residues of polish from the nails. Pour some solvent on a cotton pad and wipe the nails, remove all nail polish traces. Better to choose acetone-free solvents, more delicate on the nail but equally effective.
In any case, it is crucial to remember to rinse your hands once you are done applying the solvent. This will help to avoid its continuous remains in contact with the nails to avoid the risk of weakening them.
Remove The Cuticles
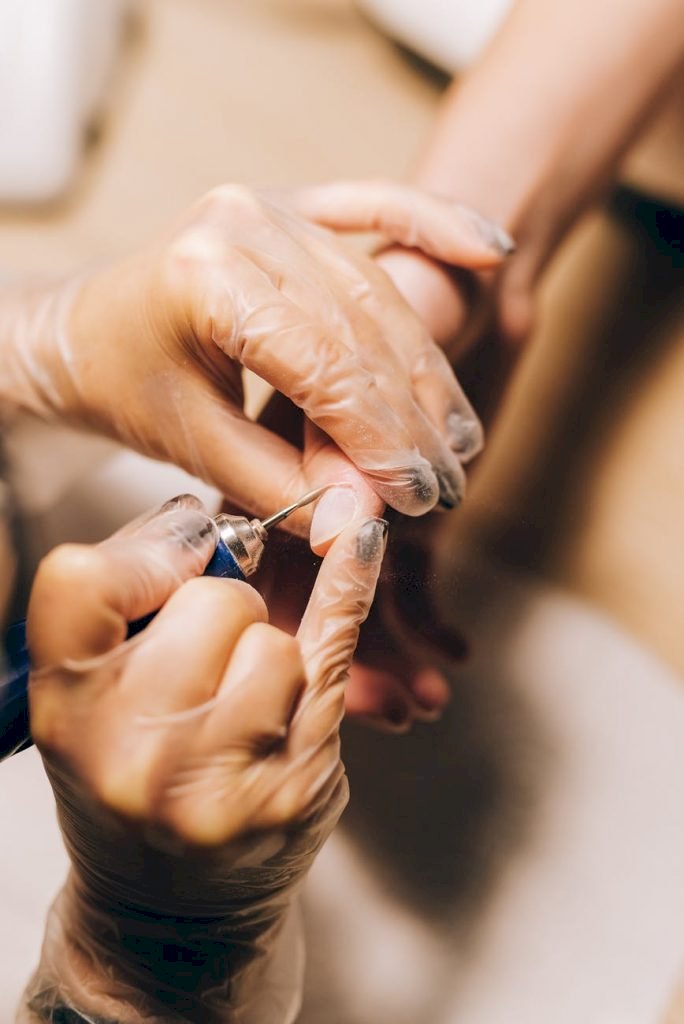
Photo by Olya Kobruseva on Pexels
Once the nail polish has gone off, it is time to move on to the annoying cuticles that form near the nails. To remove them more quickly, you can keep your hands soaking in warm water for a few minutes. This will soften the skin and nails.
To remove the cuticles correctly, we advise you to massage them with cuticle oil, then gently push them back with a cuticle remover.
Cut And File The Nails
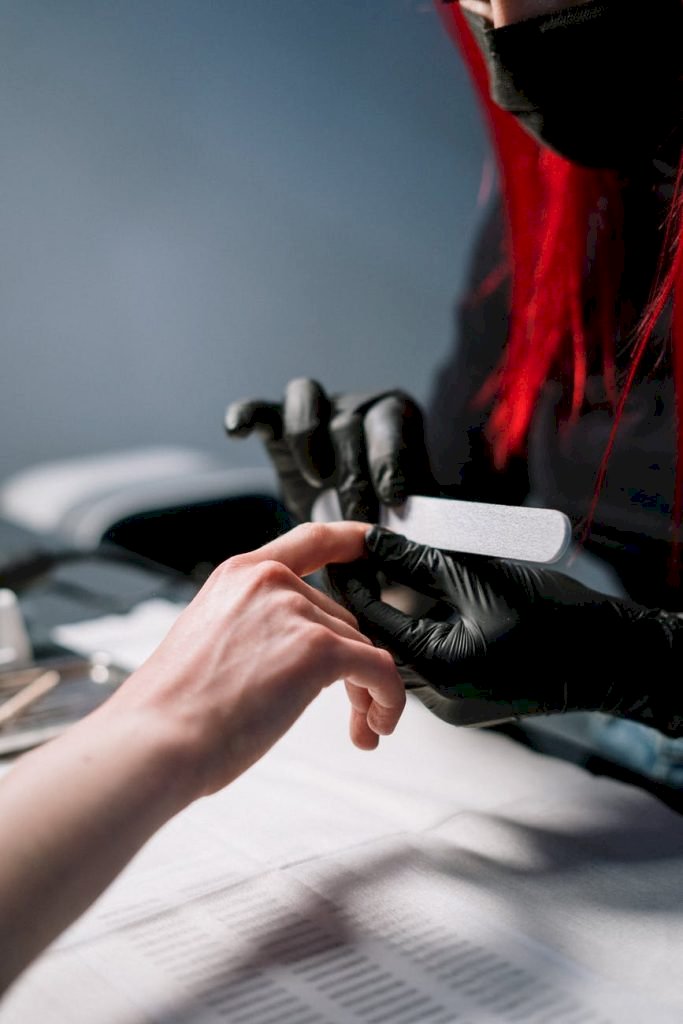
Photo by Cottonbro on Pexels
You can decide whether to cut or shorten the nails. If you are not an expert, make a straight cut before filing the corners to round them and define the shape. If you have short nails and maybe even brittle nails, we advise you to use only the file.
Cutting with scissors can create micro-fractures that make the nails even more fragile. For filing, it is better to use a cardboard file, which will not damage the nails. This also helps to avoid back and forth movements, which in the long run can make the nails weak.
Apply The Base Coat And Polish
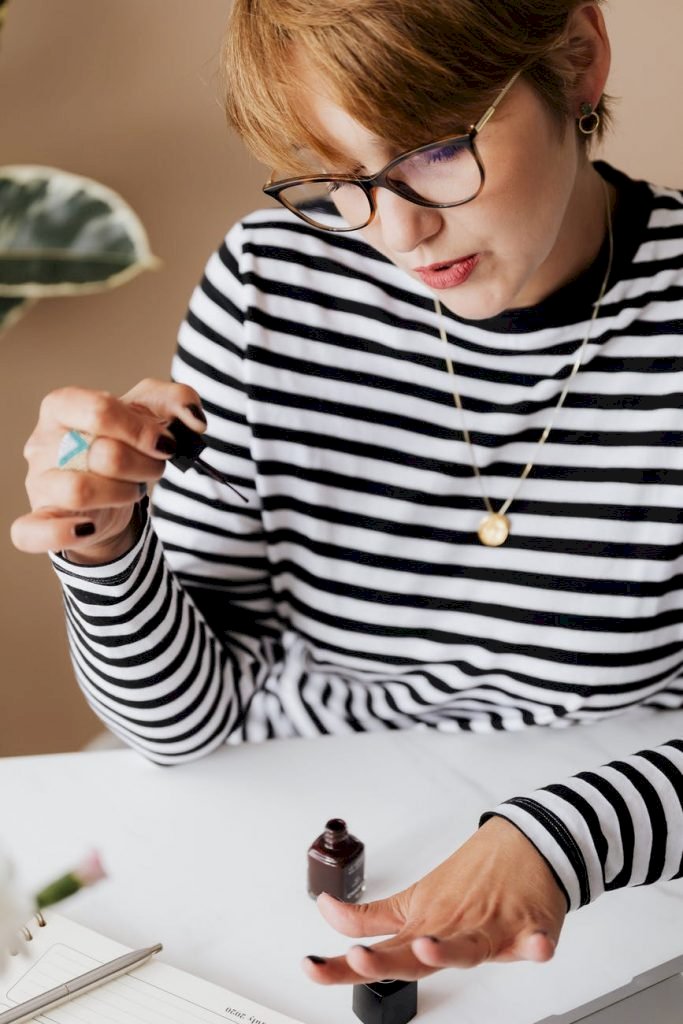
Photo by Karolina Grabowska on Pexels
The gel primer is just like its name; it primes the nails by creating an additional adhesive layer ready for gel polish application. Let the primer dry in the UV light.
Then apply the base coat without letting it touch the cuticles or the skin alongside the nails. If you do, you can tidy it up with the manicure stick before curing.
Apply The Gel Polish
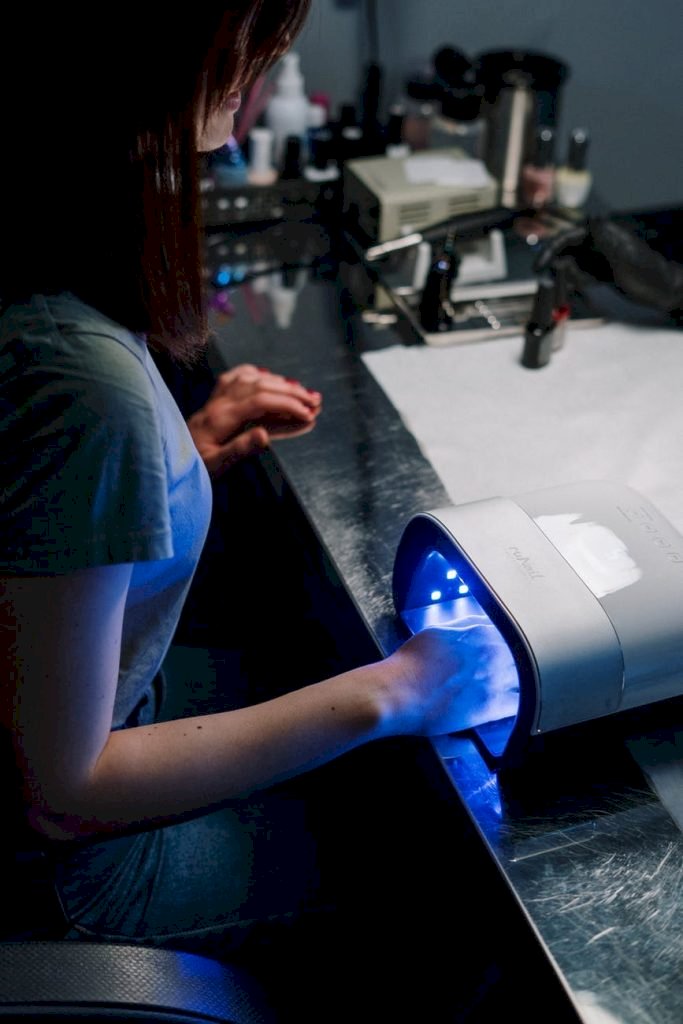
Photo by Cottonbro on Pexels
Now you can apply your favorite nail polishes. First, you need to shake the bottle (make sure the lid is closed). They use the gel polish the same way you did your base layer.
You must then dry it for 60 seconds. Depending on the desired color depth, the amount of color layers is a personal choice. However, each layer must be allowed to dry for at least sixty seconds.
Apply A Top Coat
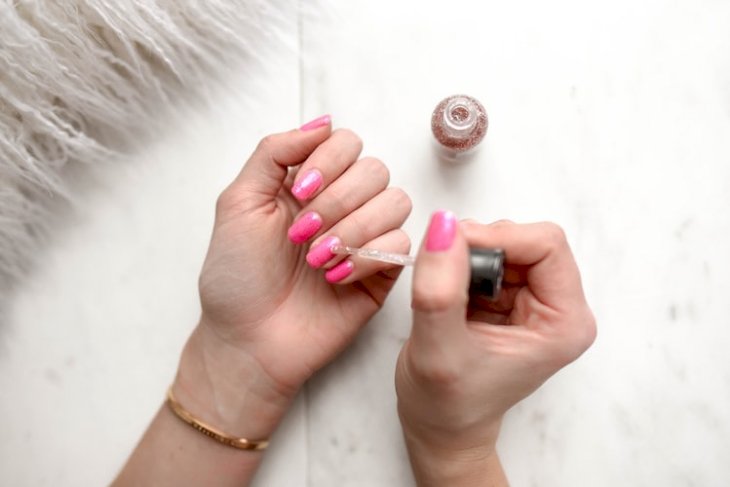
Photo by Element5 Digital on Unsplash
Finally, apply a layer of transparent topcoat to seal and protect your colored nail polish. This will make it last even longer while keeping its color shiny and bright.
For a professional look, choose a topcoat with a gel effect, as this will make your nails super glossy as if you just got out of the salon.