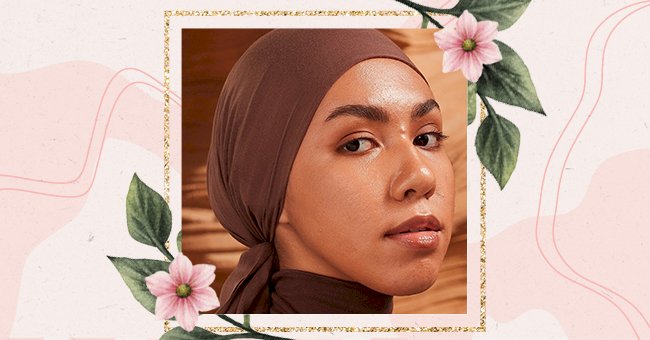
A Guide To Creating Feathered Brows
Feathery brows are not a trend leaving us any time soon. The thin brows of the early 2000s have died out, so before you go trimming your slightly overgrown brows, you may want to check out the full brow look. It might change your entire makeup routine.
Full, feathery brows expertly pair with the minimal makeup looks ruling the runways and the cool girls of Instagram. And for a good reason, they frame your face beautifully and require so little in terms of maintenance. So, goodbye, tweezers.
Aside from all that, the feathered brows work with the shape of your natural brow for a your-brows-but-better look. Therefore, if you are worried that it might not suit you, don't. It's for everyone. Grab a mirror and take notes on the ultimate guide to creating feathery brows below.
Step 1: Brush Brows Upwards
Start by evaluating your brows in the mirror. Use a brow brush to tease your brow hair upward to reveal the bald spots or spaces where hair is light or missing.
Step 2: Darken Brows in a Feathered Technique
Then using a brow pencil matched to your hair color, fill in these areas. However, you want to fill them in in a feathered motion. The texture of feathery brows is achieved by creating motions upward by sweeping your eyebrows horizontally from top to bottom. Make your swipes swift along the entire length of each eyebrow.
Step 3: Finish With a Touch Gel
To make your brows more defined, use a bit of brow gel to solidify your work of art. Using brow gel will add more volume to your brow and make them appear darker.
When applying the gel using the same top to bottom motion, you used with the brow brush. Remember, quick movements moving horizontally, pushing the brow hair upward.
Step 4: Mistakes to Watch Out For
The point of feathered brows is to nail a minimal, effortless look. It goes without saying that we aren't gunning for the unnatural. So ensure you create enough brushstrokes that fade into your natural brow color. Therefore employ patience as it takes some time to blend.
Step 5: Get Color and Layers Right
It's essential to utilize a spoolie. It's a gem during blending. Also, you must choose a color that matches your natural brow color (unless the opposite is what you are going for). Furthermore, when applying the brow color, use a light layer as too many layers can result in unnaturally dark brows.