
A Guide To Creating Tie Dye Clothing At Home
Having a unique shirt, or shorts, or other clothing items, at that, customized with your own hands is easy and fun and oh so trendy.
Ah, tie-dye! As American as apple pie and possibly a major throwback to school camp trip (if that resonated with you, watch out. Your age is showing.) However, the eclectic print has become a firm staple of #OOTD mirror selfies and current trends.
The process of tie-dying can be enjoyable, and there are multiple ways to get fun patterns out of it. If you're able to, do this process outside on the grass to avoid creating a colorful mess in your home or near anything you'd prefer to retain its usual color.
You'll Need
- A white cotton or linen clothing item
- Large rubber bands
- Dye kit
- Glass measuring jug
- Plastic bottle (optional)
Step 1
Shutterstock
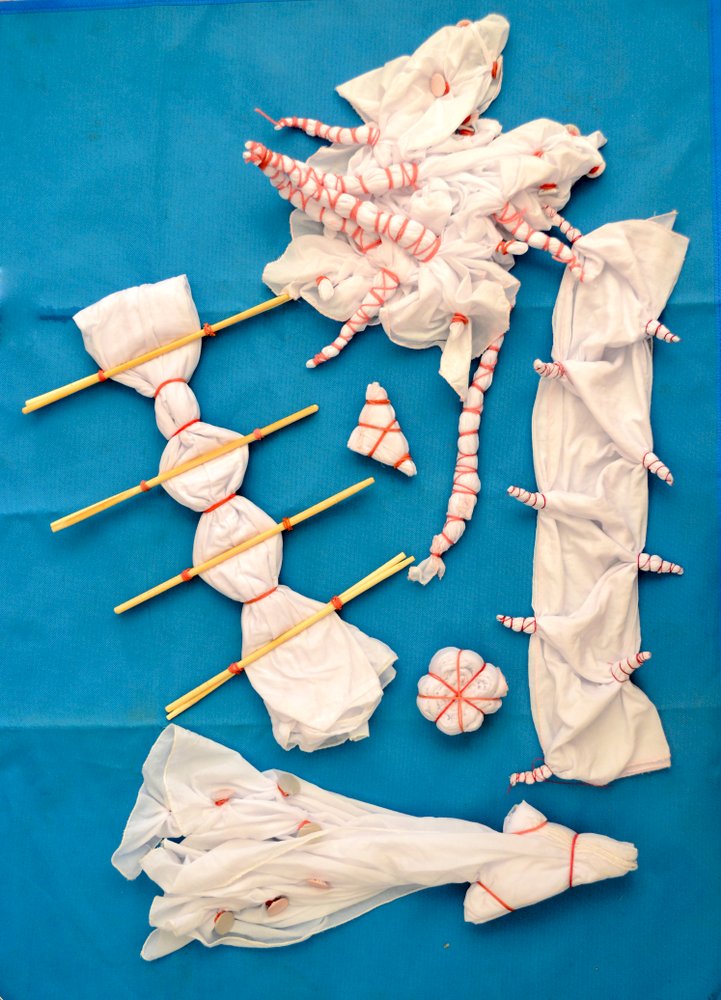
Take your damp clothing item and tie rubber bands tightly around the fabric. Note that the way you tie your clothing will determine the pattern, be it spirals or circles, stripes, etc. Basically, the part where the rubberband cinches your fabric will escape the dye.
Step 2
Shutterstock
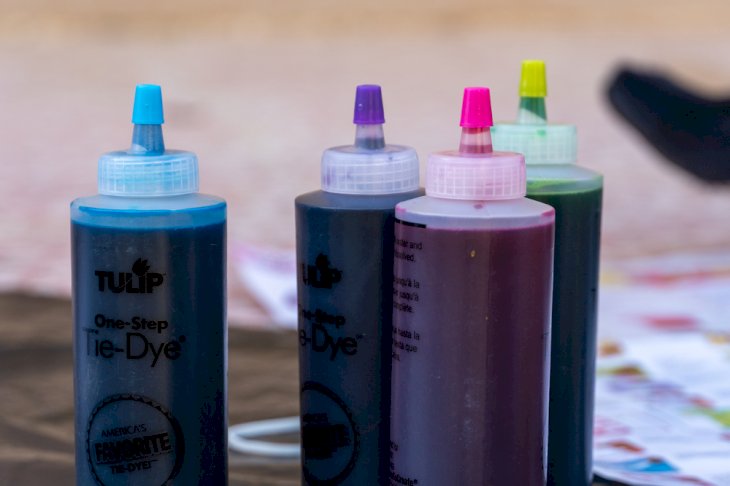
Prepare your dye following the instructions specific to the dye. Some may require to be combined with salt or baking soda, while others may good to go as is. However, you may typically dissolve your dye in 500ml of warm water in a measuring jug. Then mix in four tablespoons of salt. You may like to wear rubber gloves at this point to avoid making a mess on your hands.
Step 3
Shutterstock
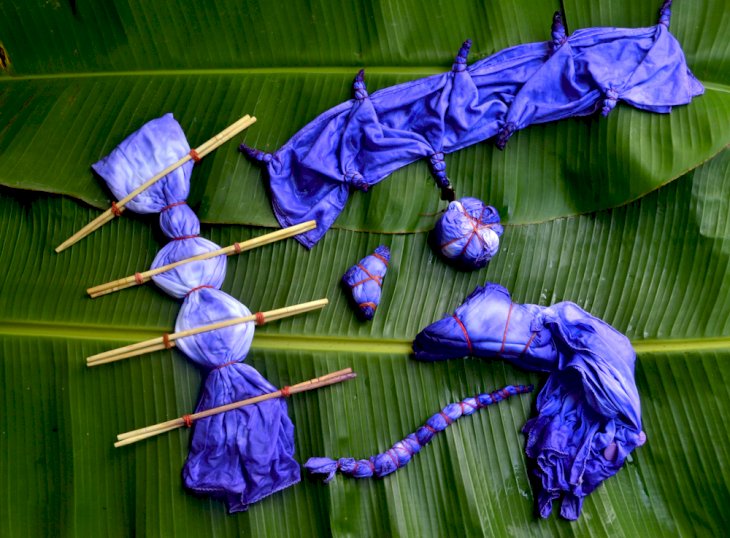
Pour your dye onto your cloth as desired. If you'd like to use multiple colors, go to town! Depending on the shape of your jug, it may be more convenient to pour the dye into a plastic bottle so that you can pour it on your fabric.
Step 4
Shutterstock
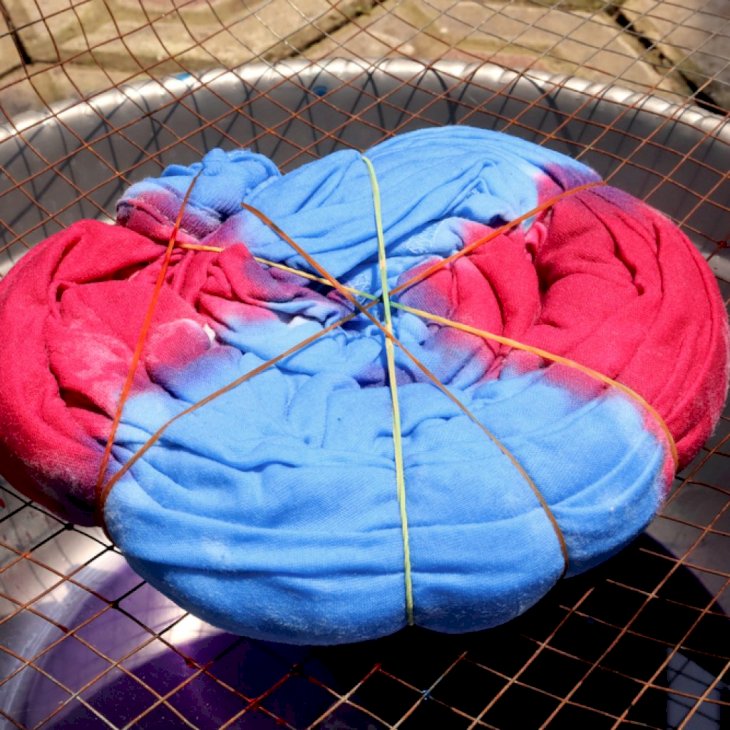
Once you've added your color, let the fabric sit in a ziplock bag for at least an hour (longer is better, though) so that the dye can seep in undisturbed.
Step 5
Shutterstock
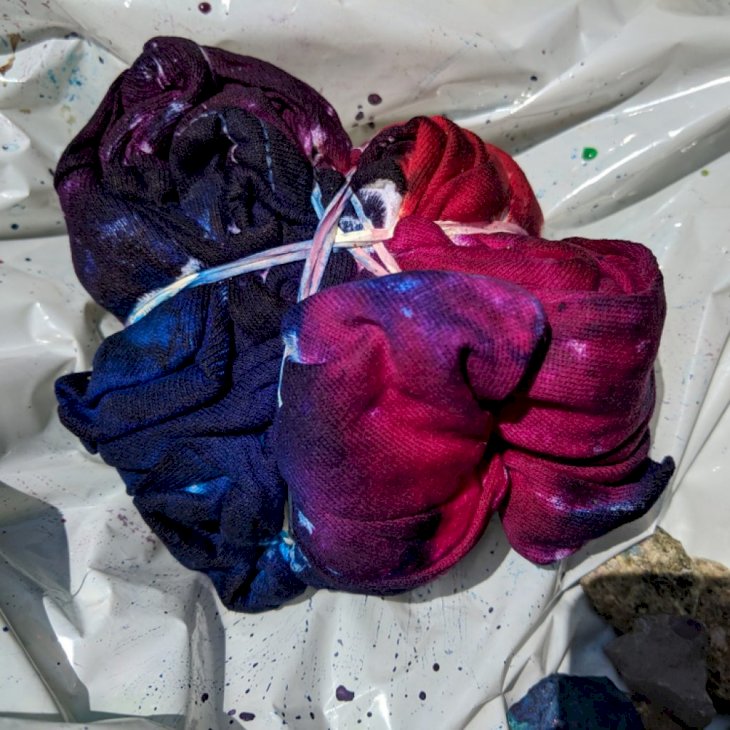
At this point, you're probably itching to untie the fabric to see your masterpiece before your eyes but patience, young padawan. Without untying your clothing item, rinse it by running cold water over it until the water runs clear. If you've never tie-dyed before, you may be shocked at how much color comes out. This is normal. Be patient.
Step 6
You may now unravel and marvel at the hypnotic product of your labors. Let the fabric dry, and you may want to wash it by itself for a few washes before eventually watching it with other clothes.