
A Comprehensive Guide to Skin-Care Layering
Layering your products correctly is key to getting the most out of everything that you're putting on your skin. Get the best of your products by putting them on in the proper order.
To bake a cake, you not only need the right ingredients, but you also need to put them together in the right order. The same goes for your skin and that is, in essence, what skin layering is about.
By not applying your products in the proper order, you don't allow your skin to reap the full benefits of that product. That means that you could have all of the best serums and creams, but not see all the potential results. Here's a step by step guide to skin layering to ensure you're getting your bucks worth.
Step 1: Cleanser
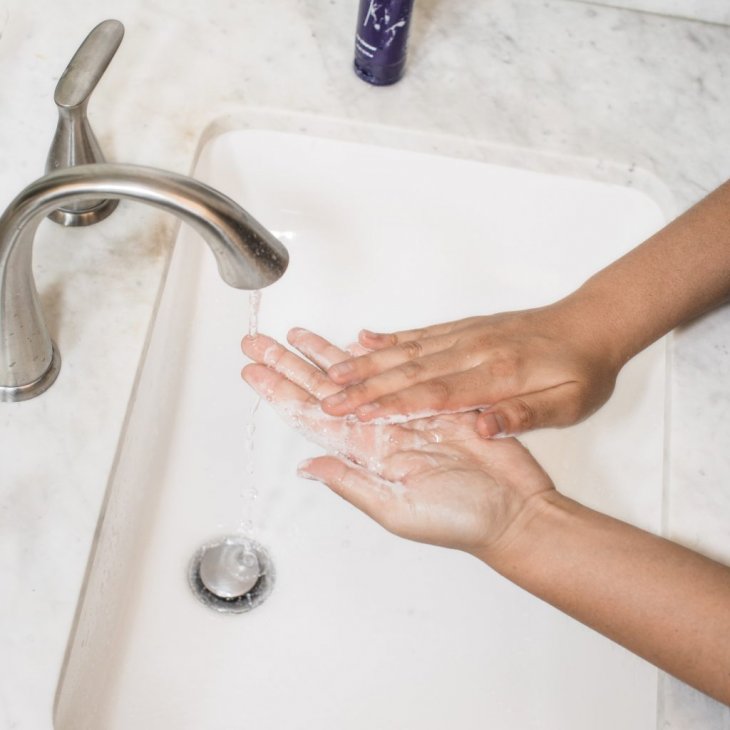
Photo by Curology on Unsplash
If you're one for oil-cleansers, that should be the first step in you're routine. Apply it on wet or dry skin as per the instructions of your cleanser and then follow with your water-based cleanser if you want to double-cleanse.
Alternatively skip the oil-based cleanser and head straight into the water-based cleanser to revove dirt and oil from your skin.
Step 2: Toner
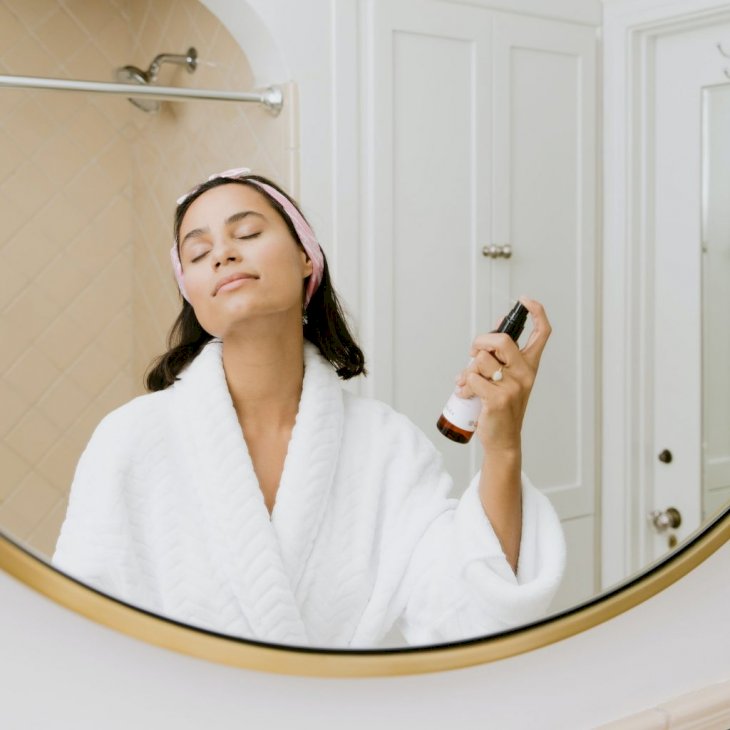
Photo by Kalos Skincare on Unsplash
Toners have diversified over the past years and you can find different ones to suits your skin concerns best. However, they primarily hydrate and remove dead cells and some can deliver antioxidants, vitamin B derivatives.
Dab some toner onto a cotton pad, and gently swipe the product over your face and neck area. You could also spritz your toner onto your face.
Step 3: Antioxidant Serum
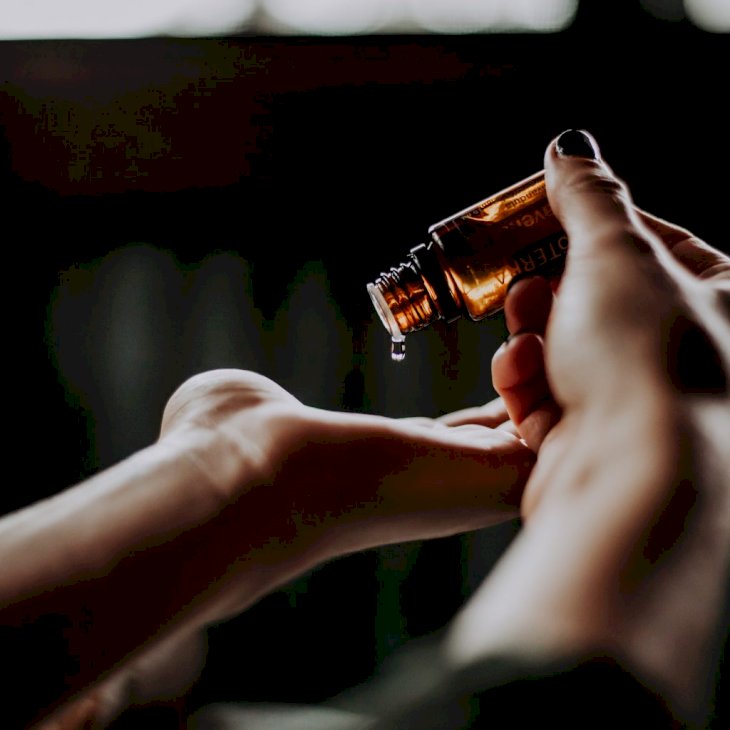
Photo by Christin Hume on Unsplash
Serums are concentrated, nutrient-dense treatments that target specific skin concerns. An antioxidant-based one will protect skin against damage caused by free radicals.
Common options include one of the most popular skincare ingredients of 2020, vitamin C, which helps treat uneven skin tone, fine lines, and acne scars. Another go-to is vitamin E.
Step 4: Spot Treatment
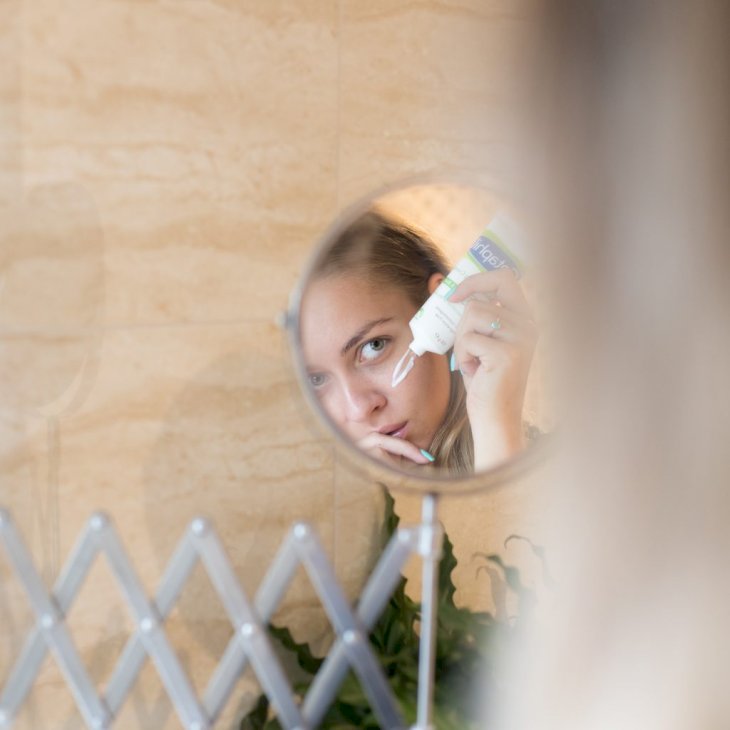
According to Dr. Diane De Fiori, a dermatologist at Rosacea Treatment Clinic, prescription medications and acne spot treatments need to be applied as close to the skin as possible to maximize their benefits.
Using a damp cotton swab, wipe over the blemish to remove existing products. Follow with your spot treatment on the aarea and allow to dry for a minute or two.
Step 5: Eye Treatment

Photo by Soroush Karimi on Unsplash
"It’s about maintaining the health and thickness of the eyelid skin. Improving the skin quality in this area early on ensures that the eyelid skin does not easily lose laxity and its smooth appearance later on.”
Dr. Annie Chiu, a board-certified dermatologist tells "Dermstore"
Dr. Chiu also added that it ideal to start using eye-creams in your twenties. Depending on your treatment, you may do this once or twice a day. Apply a small amout around your eye area.
Step 6: Moisturizer
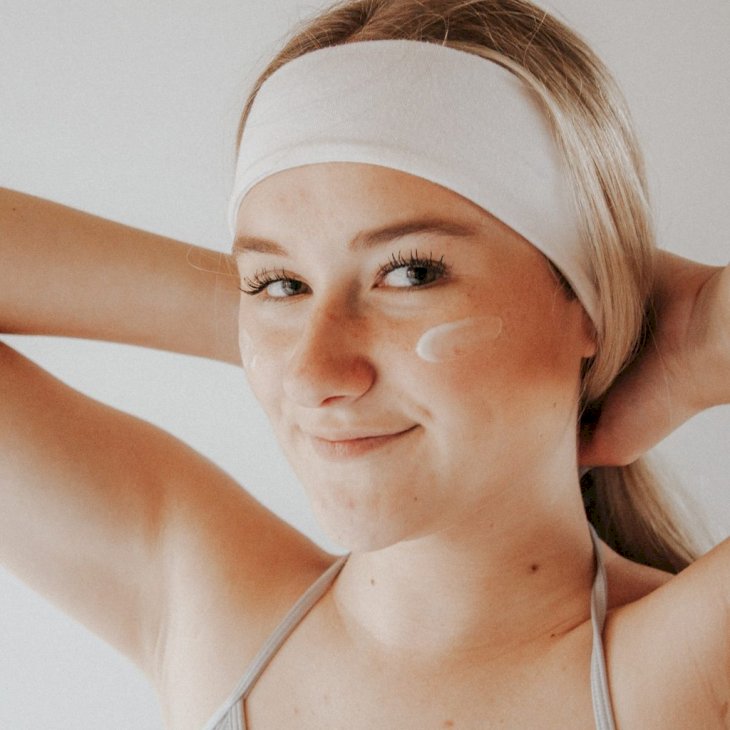
Photo by Cheyenne Doig on Unsplash
Here's a step, much like the cleasnser, that everybody should be doing everytime they wash their face, no matter the skin type.
Apply your moisturizer all over your face in an upward motion. Ensure that your moisturizer suits your skin type, either dry, oily, normal or combination skin.
Step 7: Sunscreen

Photo by Antonio Gabola on Unsplash
The all importnat final step of any skincare routine in the morning is sun protection. Dr. Rogers recommends using a physical sunscreen with zinc and to apply it after your moisturizer.
In addition to reducing your risk of skin cancer, a good sunscreen can fight against signs of aging. Opt for a SPF 30 and apply around 15-30 minutes before going outside.